WinSCP
FTP client for Windows
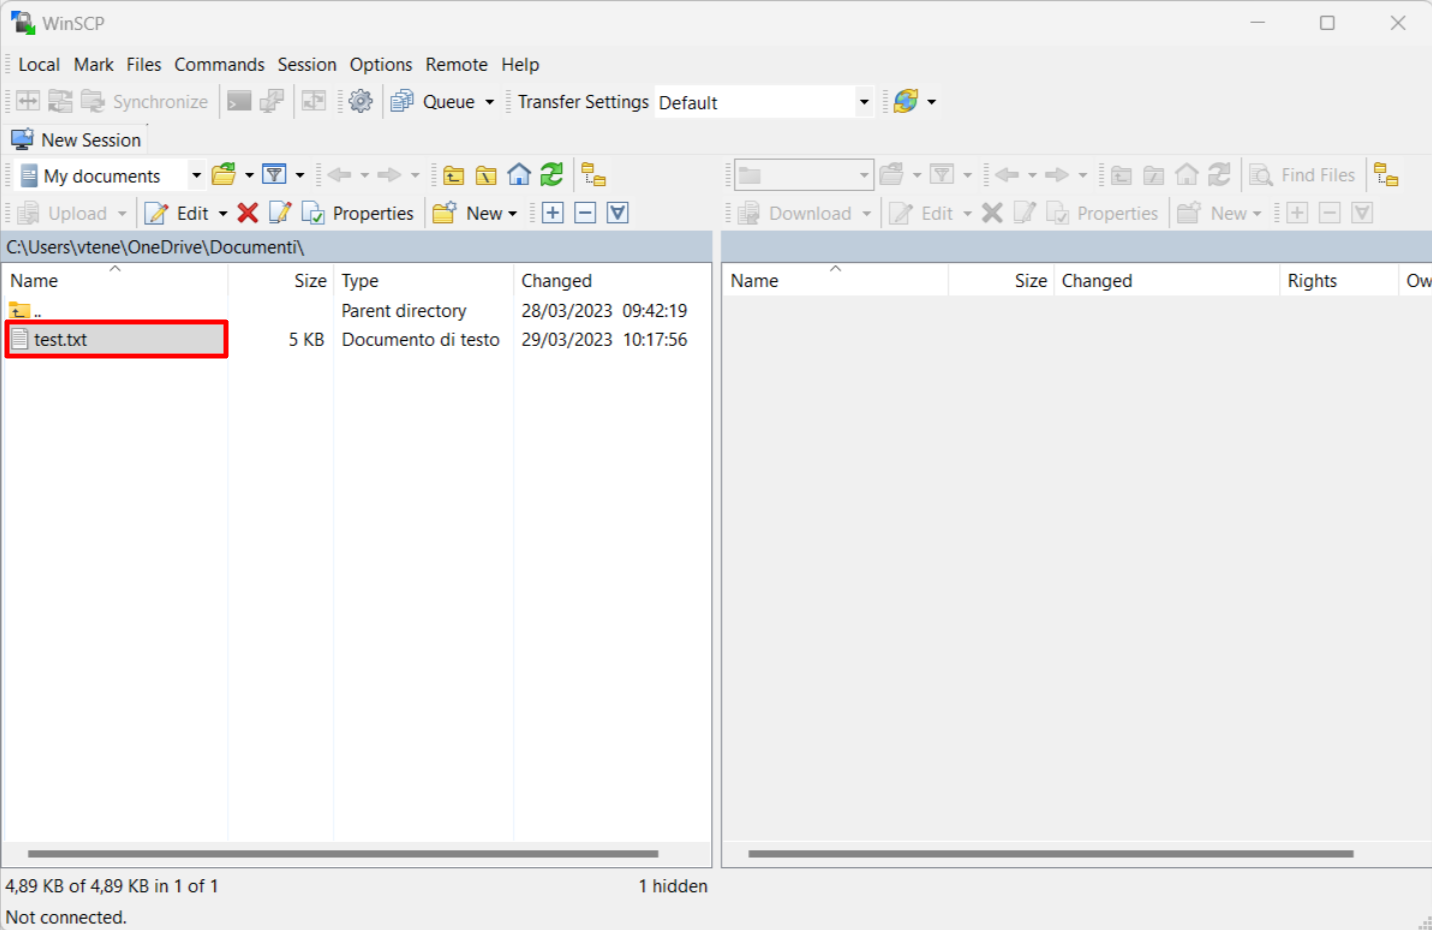
WinSCP - Introduction
WinSCP (Windows Secure Copy) is an open source graphical SFTP and FTP client for Microsoft Windows, built in C++ language. Its main function is to transfer data (files) between a local and a remote computer. In addition WinSCP allows simple file manager functionality. For secure transfers it uses Secure Shell (SSH) and supports the SCP protocol in addition to SFTP.
As a free client, WinSCP is aimed at users who care about the security of their files and login data on the Internet. The software is quick to install and has both a comprehensive graphical user interface and a number of useful features, including an integrated text editor and automatic folder synchronization.
![]()
How to download WinSCP
Follow these steps to download WinSCP:
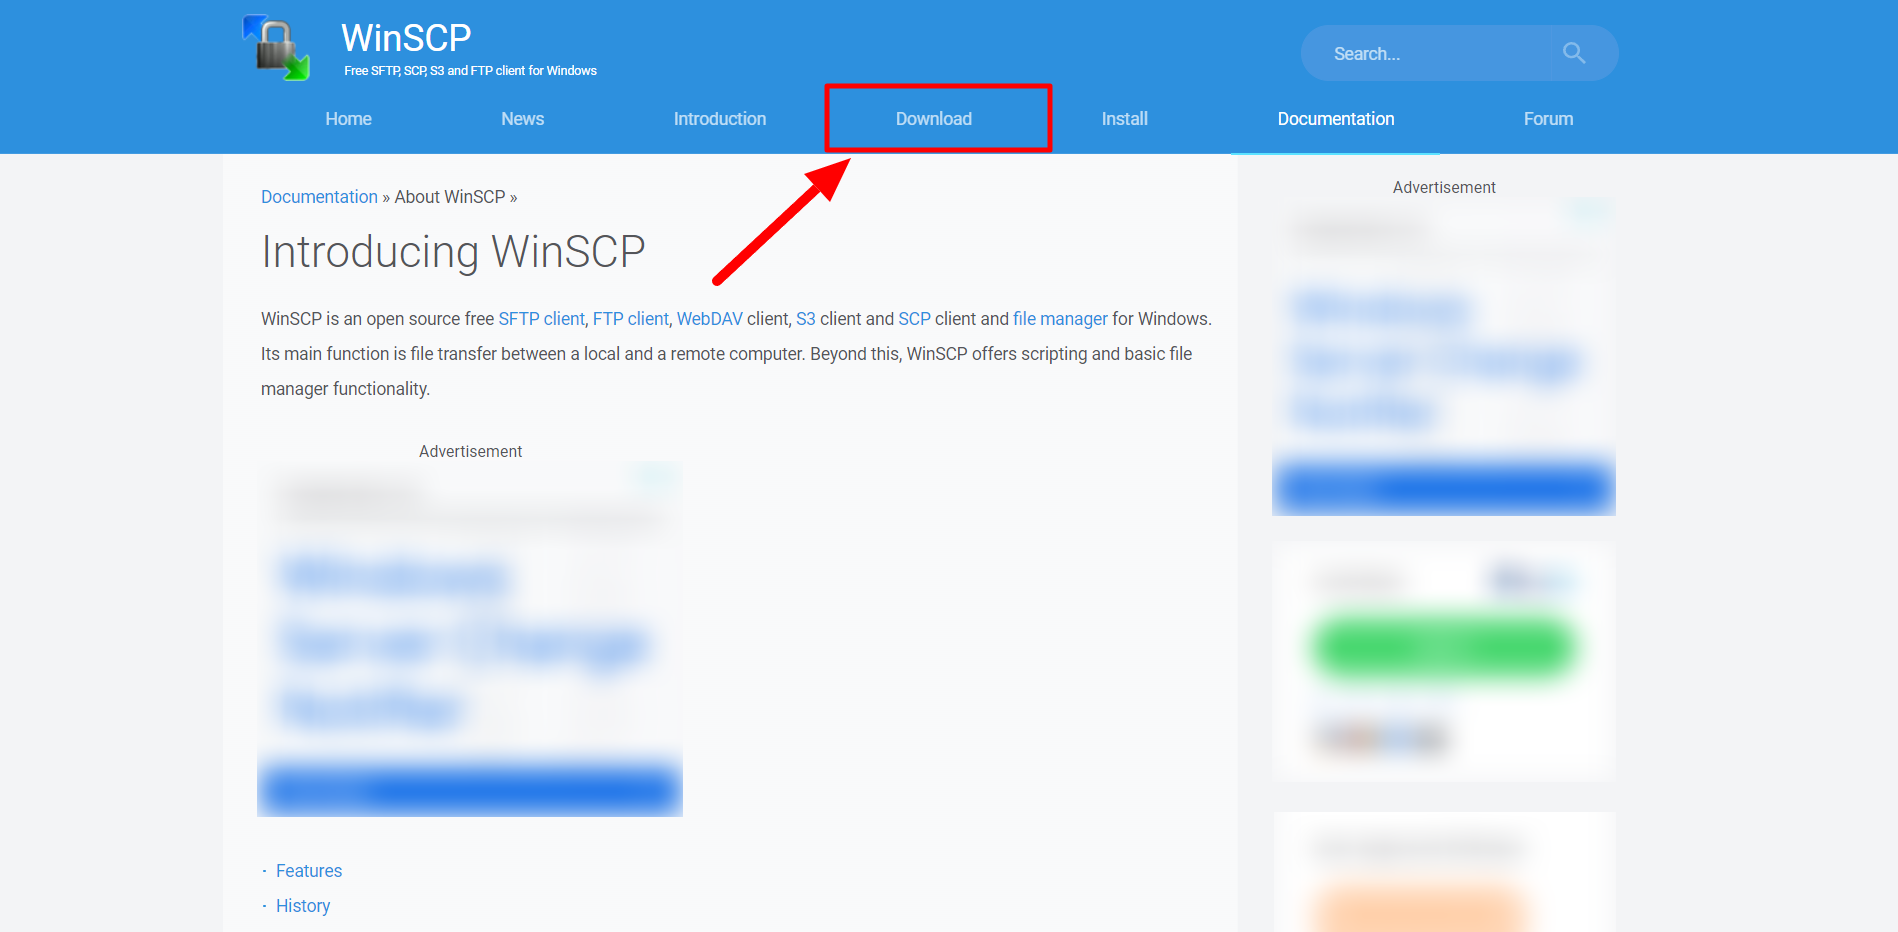
1. Open your browser and visit the WinSCP official website at https://winscp.net/.
2. Click on "Download" button at the top of the page.
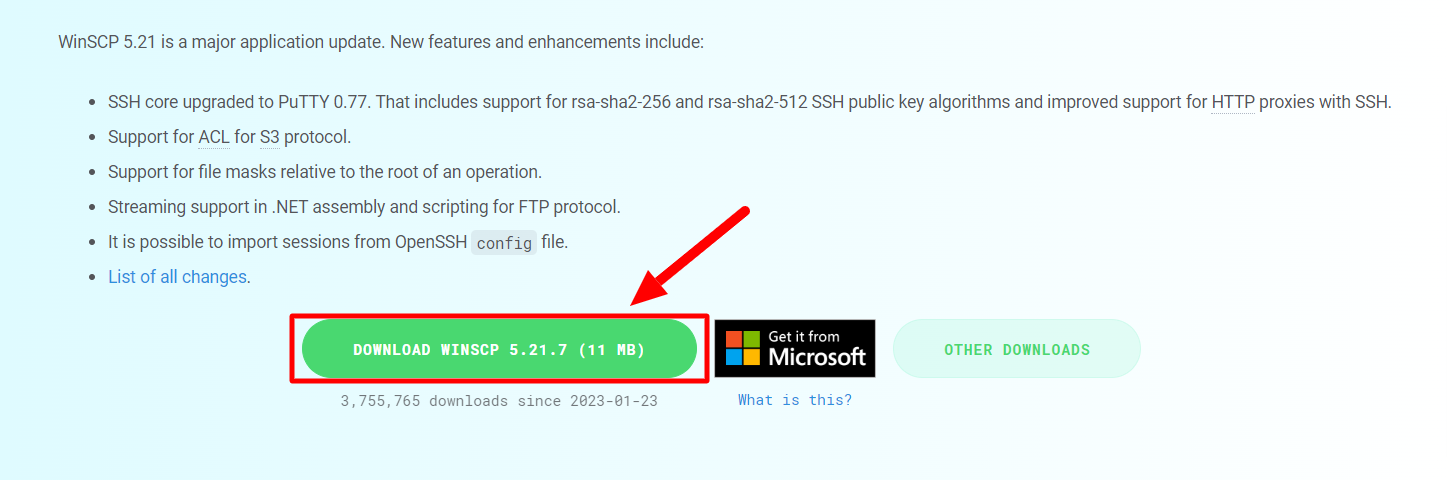
3. Select the version of WinSCP you wish to download. Available options include the latest stable release and the latest release.
4. Click on the "Download" button.
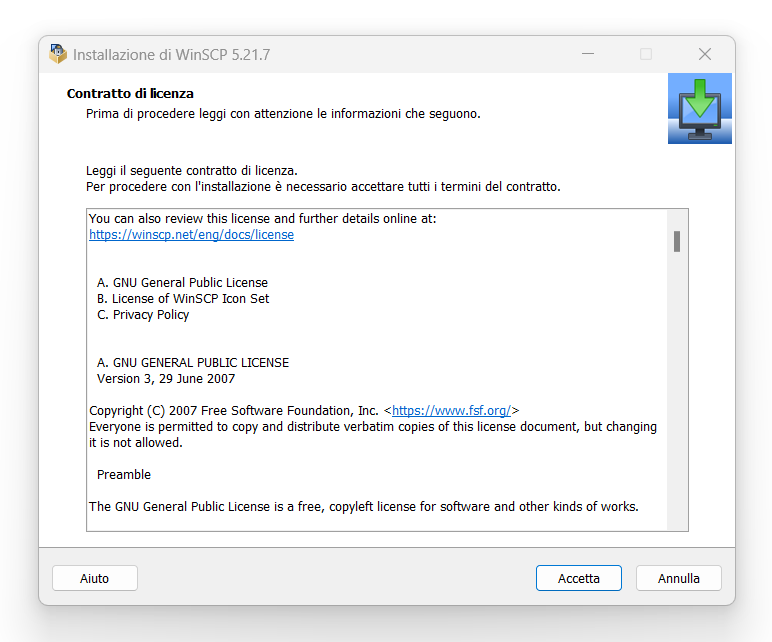
5. After the download completes, open the WinSCP installation file and follow the on-screen instructions to complete the installation.
Note that WinSCP is only compatible with Windows operating systems. If you are using a different operating system, you will have to look for another solution for transferring files via SCP or SFTP protocol.
How to use WinSCP
With these following steps, you should be able to use WinSCP to transfer files between your local computer and remote servers:
1. Launch WinSCP and select your desired protocol: FTP, SFTP or SCP.

2. Enter the hostname, username, password and port number (if different from default).

3. Click the "Login" button to connect to the server.

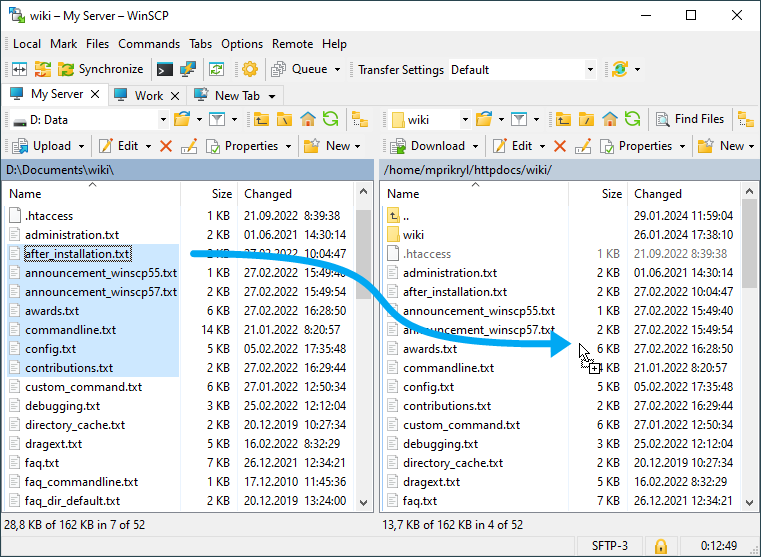
4. Once connected, you will see two panels on the WinSCP interface. The panel on the left represents the local computer, and the panel on the right represents the remote server.
5. To transfer files from your local computer to the remote server (or vice versa), select the files you want to transfer and drag them to the other panel.
6. You can also use the menus and buttons on the WinSCP interface to perform various actions such as creating new folders, renaming files, and deleting files.
7. When you're done, it will suffice disconnecting from the server.
It is recommended to consult the official WinSCP documentation at https://winscp.net/eng/docs/ for more information and advanced features.