# vtenext installation on Linux Ubuntu 16.04 LTS
# Installation
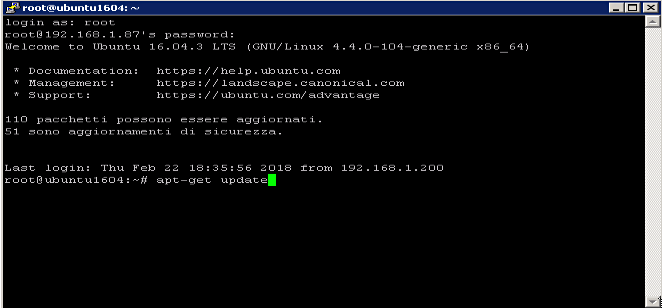
Open Putty and connect to the remote host where you will install VTE via SSH connection. First, you must run the command *apt-get update* to update the local package with the recent changes in the repository.
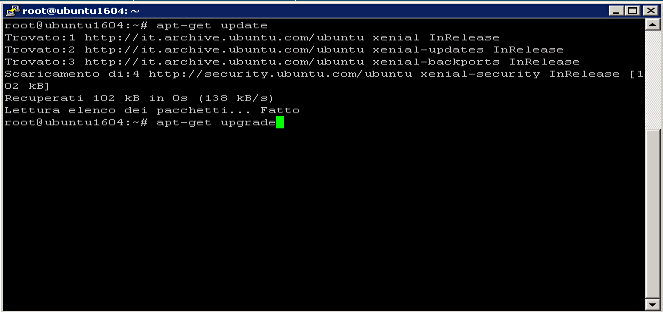
Then type the command *apt-get upgrade* to update the packages installed on your system.
After you upgraded your system, you must install the packages that will allow the operation of VTE.
**Run the following commands:**
- *sudo apt-get install apache2 mysql-server*
- *apt-get install php php-cli php-gd php-imap php-ldap php-mysql php-curl php-imagick php-mbstring php-xml libapache2-mod-php*
- *sudo phpenmod imap*
- *a2enmod rewrite*
- *dpkg-reconfigure libapache2-mod-php*
Type the command *sudo nano /etc/php/7.0/apache2/php.ini* and check the following:
- error\_reporting = E\_ALL & ~E\_DEPRECATED & ~E\_STRICT & ~E\_NOTICE
- display\_errors = On
- max\_execution\_time = 600
- memory\_limit = 256M
- log\_errors = On
- file\_uploads = On
- output\_buffering = On
- short\_open\_tag = On
**Save the file and apply the same change to the file** */etc/php/7.0/cli/php.ini*
Type the command service apache2 restart to restart the Apache service and apply the changes.
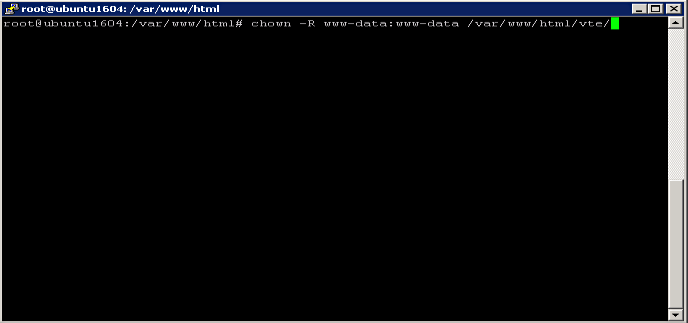
Unzip the package VTE in the folder /var/www/ and assign the owner and group to the folder and files recursively with the command chown -R www-data:www-data /var/www/CARTELLA/.
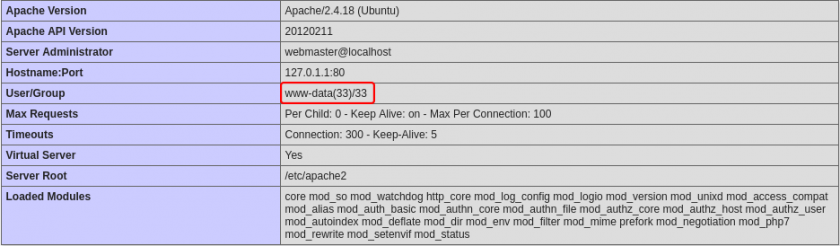
**NB:** The Apache group and the user are displayed by creating a new file called *phpinfo.php*. To create the file, type the command *nano phpinfo.php* and write the following line of code:
*<?php phpinfo(); ?>*
Save and then open the *phpinfo.php* page in your browser and look for the following entry:
Open the folder of VTE through a browser and start the setup procedure of VTE.
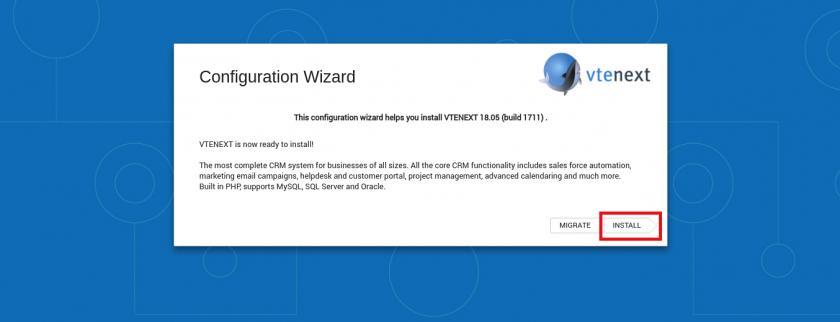
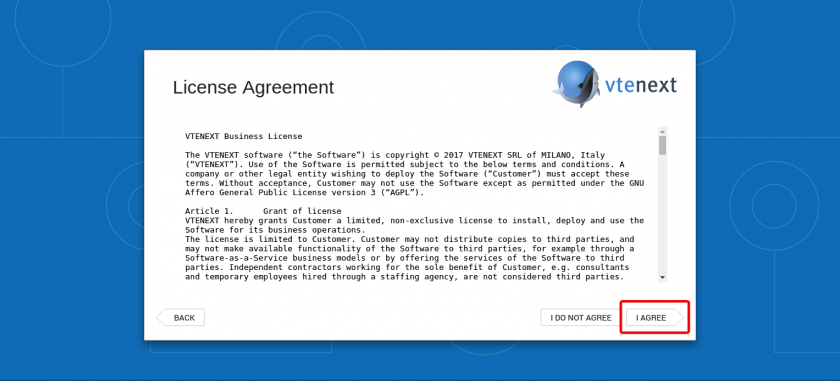
Press the **Install** button and accept the license agreement to continue.
If all packages have been installed and the settings of the *php.ini* file are set correctly you will see the following screen.
To change the parameters of **PHP RECOMMENDED SETTINGS** type *nano/etc/php5/cli/php.ini* and change the values, restart Apache, and press the **Check Again** button.
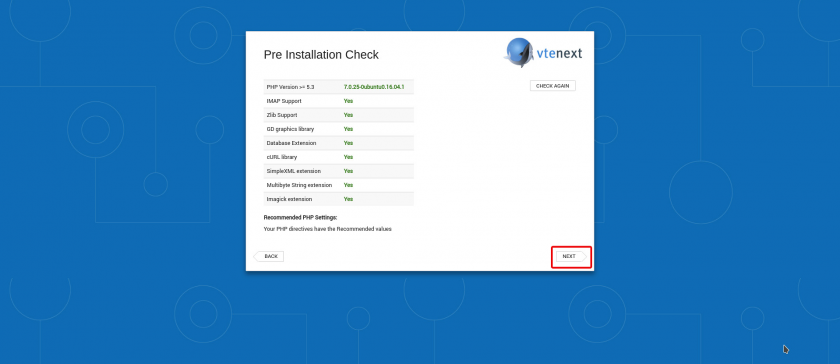
Press the **Next** button. Configure the database parameters and press the **Next** button.
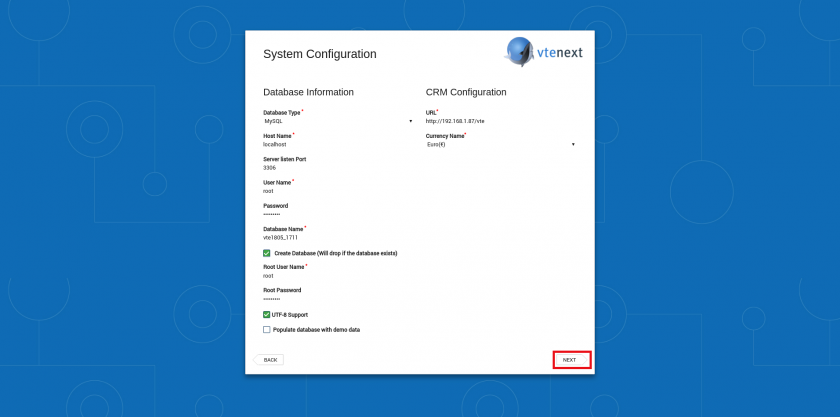
**Confirm the configuration and start the installation.**
# Configuration
#### **CRON** **Configuration**
Verify that the *RunCron.sh* file in the cron folder has execute permissions through the command sudo *chmod a+x RunCron.sh*. Enter the command *crontab –e* and insert the following line:
*\* \* \* \* \* /var/www/html/VTE\_FOLDER/cron/RunCron.sh >> /var/www/html/VTE\_FOLDER/logs/cron.log 2>&1*
#### **Backup and Restore**
The backup can be done using a tool easily findable on the web.
Restore:
1\) *tar xzvf /backups/FILE.tgz* and after *chown -R www-data:www-data CARTELLA*
2\) recreate the DB (CHARSET UTF-8) and type the following commands:
- - *gunzip FILE.sql.gz*
- *- mysql DATABASE < FILE.sql*
If you move/duplicate VTE check the parameters in the new *config.inc.php*:
*3) $PORTAL\_URL*
*4) $dbconfig\[‘db\_name’\] e relative credenziali di accesso al servizio database*
*5) $site\_URL*
*6) $root\_directory*
**NB: In this case it will be necessary to reactivate the vtenext license.**
#### **Debug**
Set true the db\_dieOnError (config.inc.php).
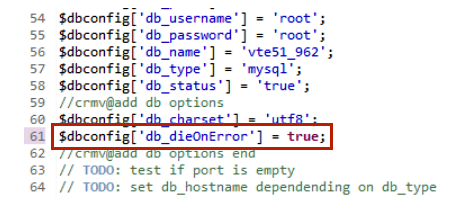
In this way, in case of an error, the query is shown with directions on where the error is.
To enable the debugging of VTE and see all the functions which handle the application open config.performance. php and set to *LOG4PHP\_DEBUG.* On line 19 of *log4php.properties* replace FATAL with DEBUG.