
4.1 ASSIGNED TO
It represents the assignee of the process helper, so in our case the user who will be shown and asked to fill in the dynamic form (Figure 1)

Figure 1
Based on the value set in the initial picklist, it is possible to insert different types of assignees (static or dynamic), namely:
- User → allows you to select a static user existing in the CRM (see Figure 2)

Figure 2
- Group → allows you to select an existing static group in the CRM (Figure 3)

Figure 3
- Other → allows you to select a user or dynamic group by fishing from the modules involved in the process (Figure 4)

Figure 4
- Advanced → Allows you to define a different assignee (static or dynamic) when certain conditions occur.
To proceed with the configuration, click the button with the 3 horizontal dots (Figure 5)
Figure 5
Next, by clicking on “Add rule” (Figure 6) and then on “New group” (Figure 7), you can indicate the various conditions on the fields of the modules involved in the process.

Figure 6
After clicking the “Save” button (Figure 8) you can indicate the assignee who will be selected when the previously entered condition occurs (Figure 9).
Once saved, to insert a new rule you will have to click the “Add rule” button again, instead you will have to click on “Save” to proceed with the configuration of the process helper.

Figure 8

Figure 9
- Email → allows you to define an address (static or dynamic) to which an email will be sent containing a link to a landing page from which it will be possible to fill out the dynamic form (Figure 10)

Figure 10
Once this item is selected, additional fields will appear within the process helper to collect the minimum information needed to send the email (Figure 11)
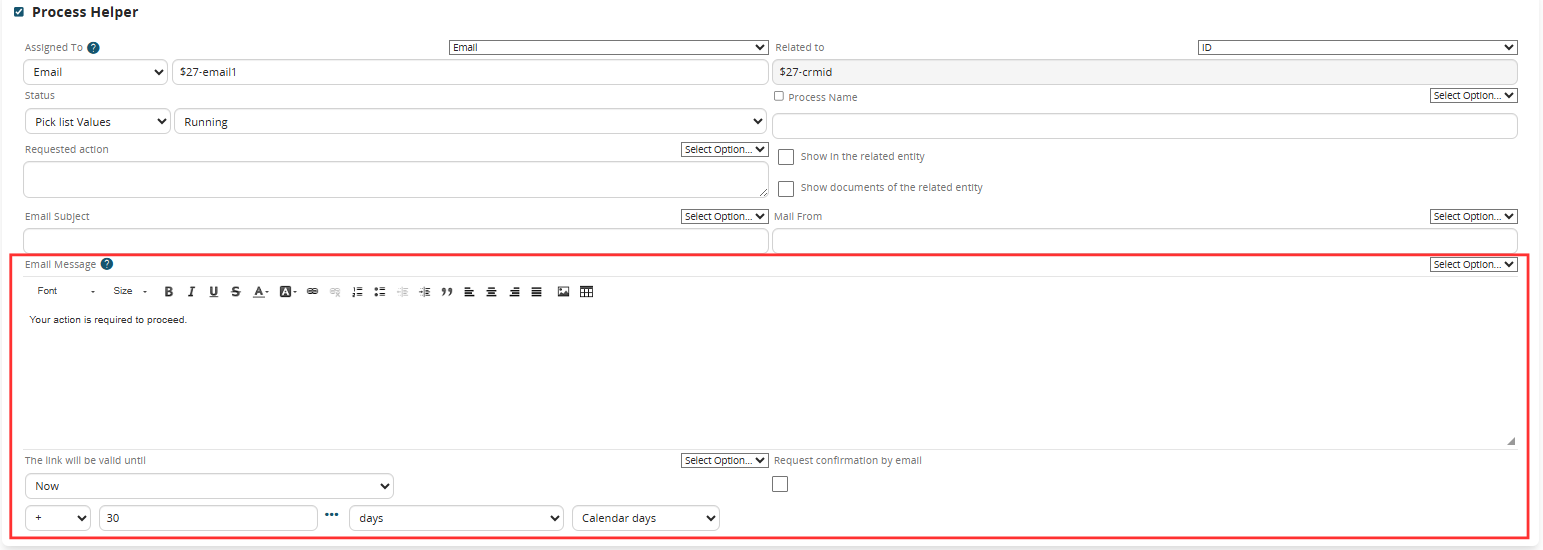
Figure 11
Specifically:
- Mail subject → allows you to define the subject of the email to be sent to the assignee
- Mail sender → allows you to define the sender of the email to be sent to the assignee
NOTE: it must be the address of the account configured in Settings → Other settings → Mail Server
- Mail message → allows you to define the body of the email to be sent to the assignee (to which the link to access the landing page and fill out the dynamic form will be added)
- The link will be valid until → allows you to define a maximum validity time of the link to access the landing page and fill out the dynamic form
- Request confirmation by email → allows you to send a further email after filling out the dynamic form in order to show the summary of the data entered and possibly give the possibility to modify them (Figure 12)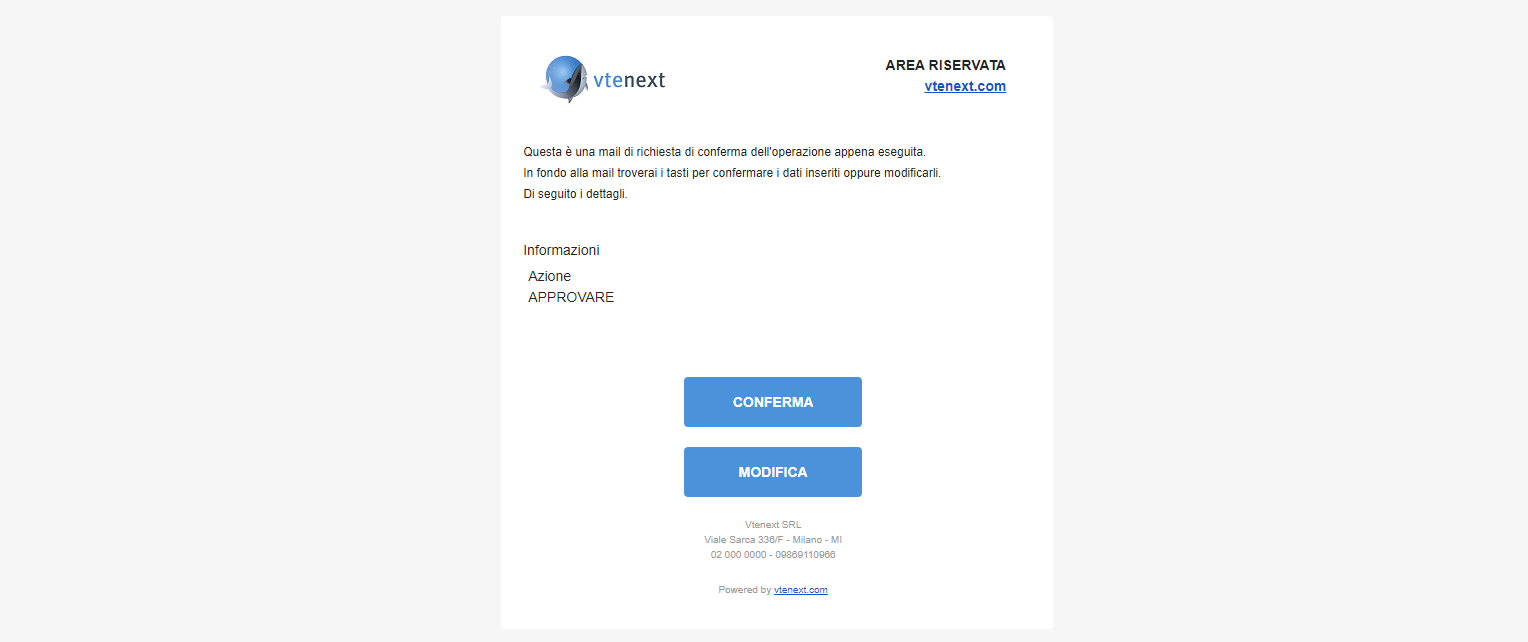
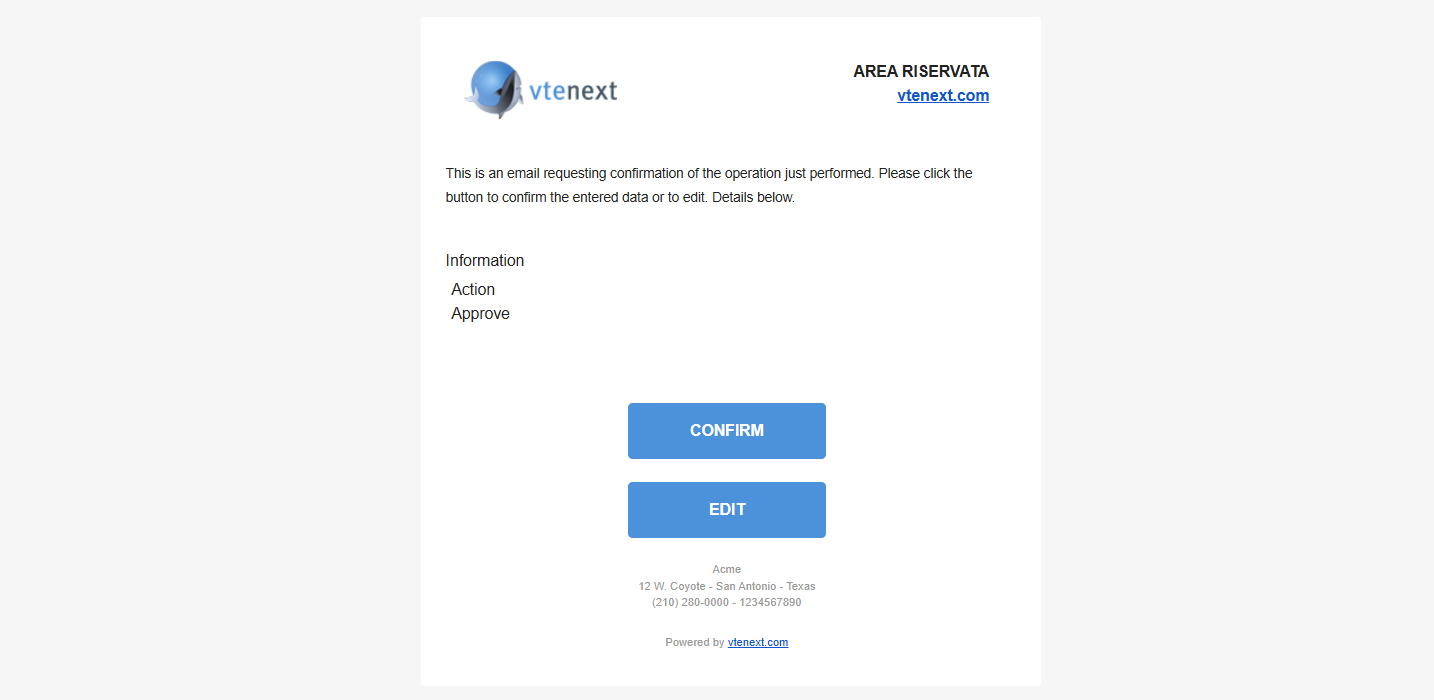 Figure 12
- Business Portal → allows you to define the ID of a Contact or Company that must be associated with a Business Portal user (Figure 13).
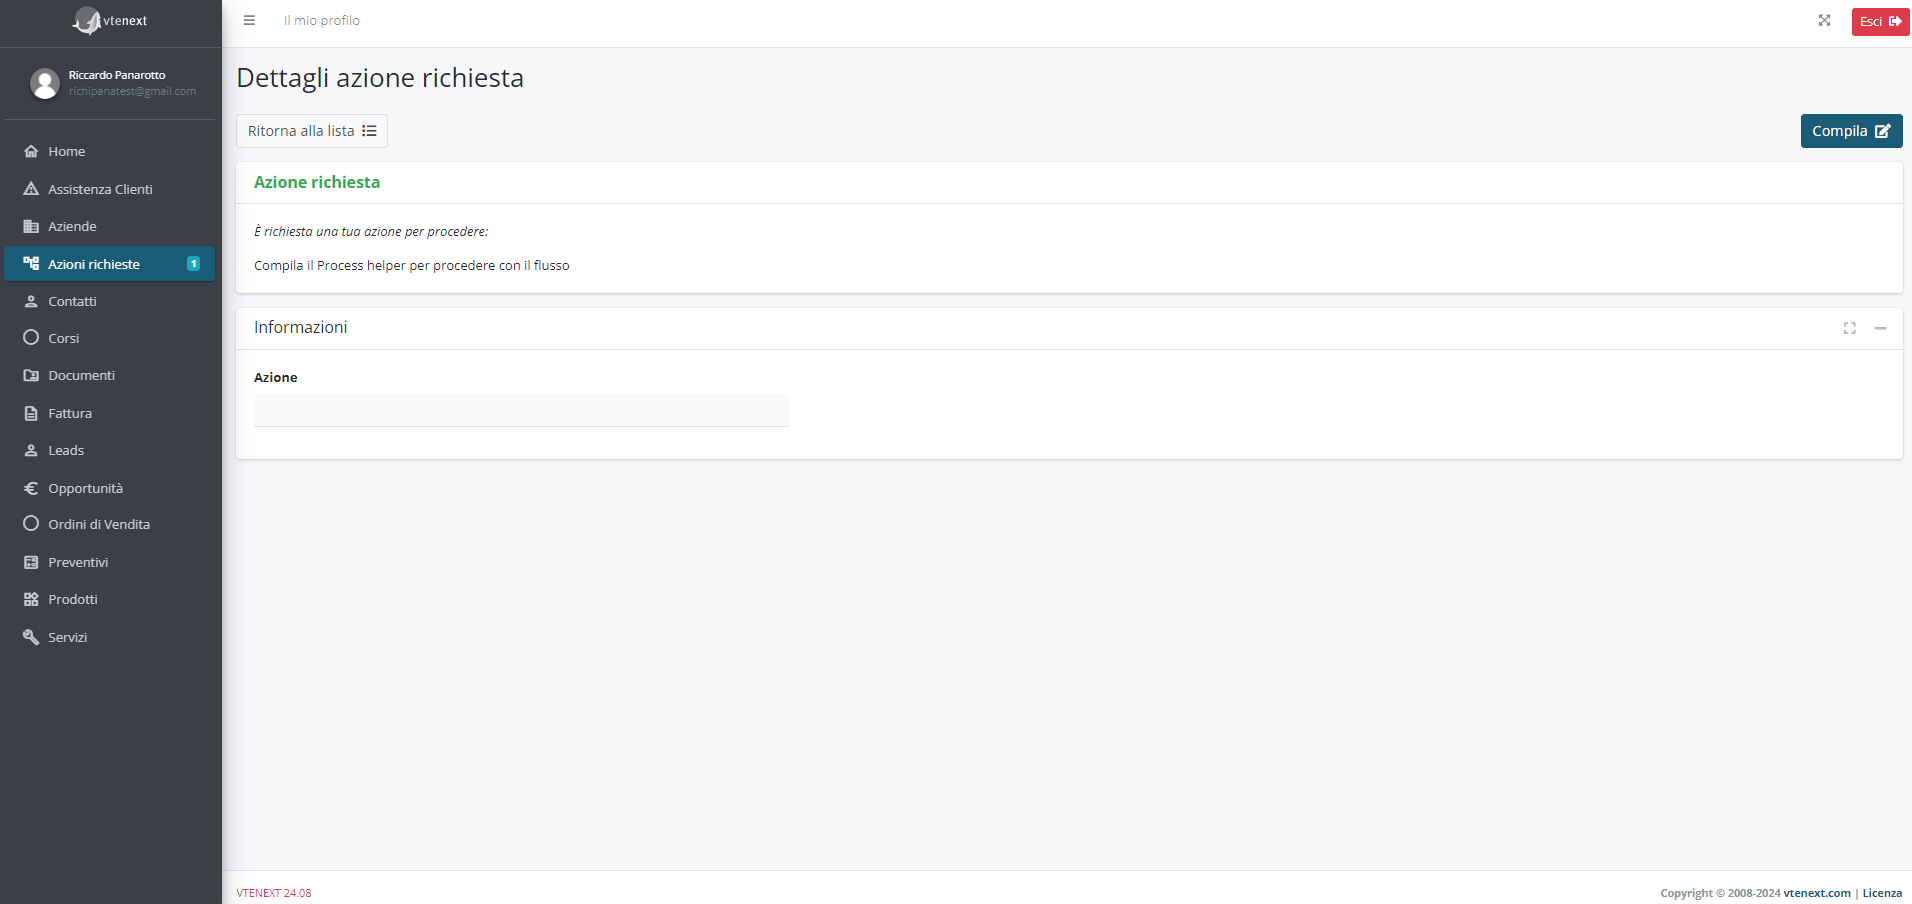
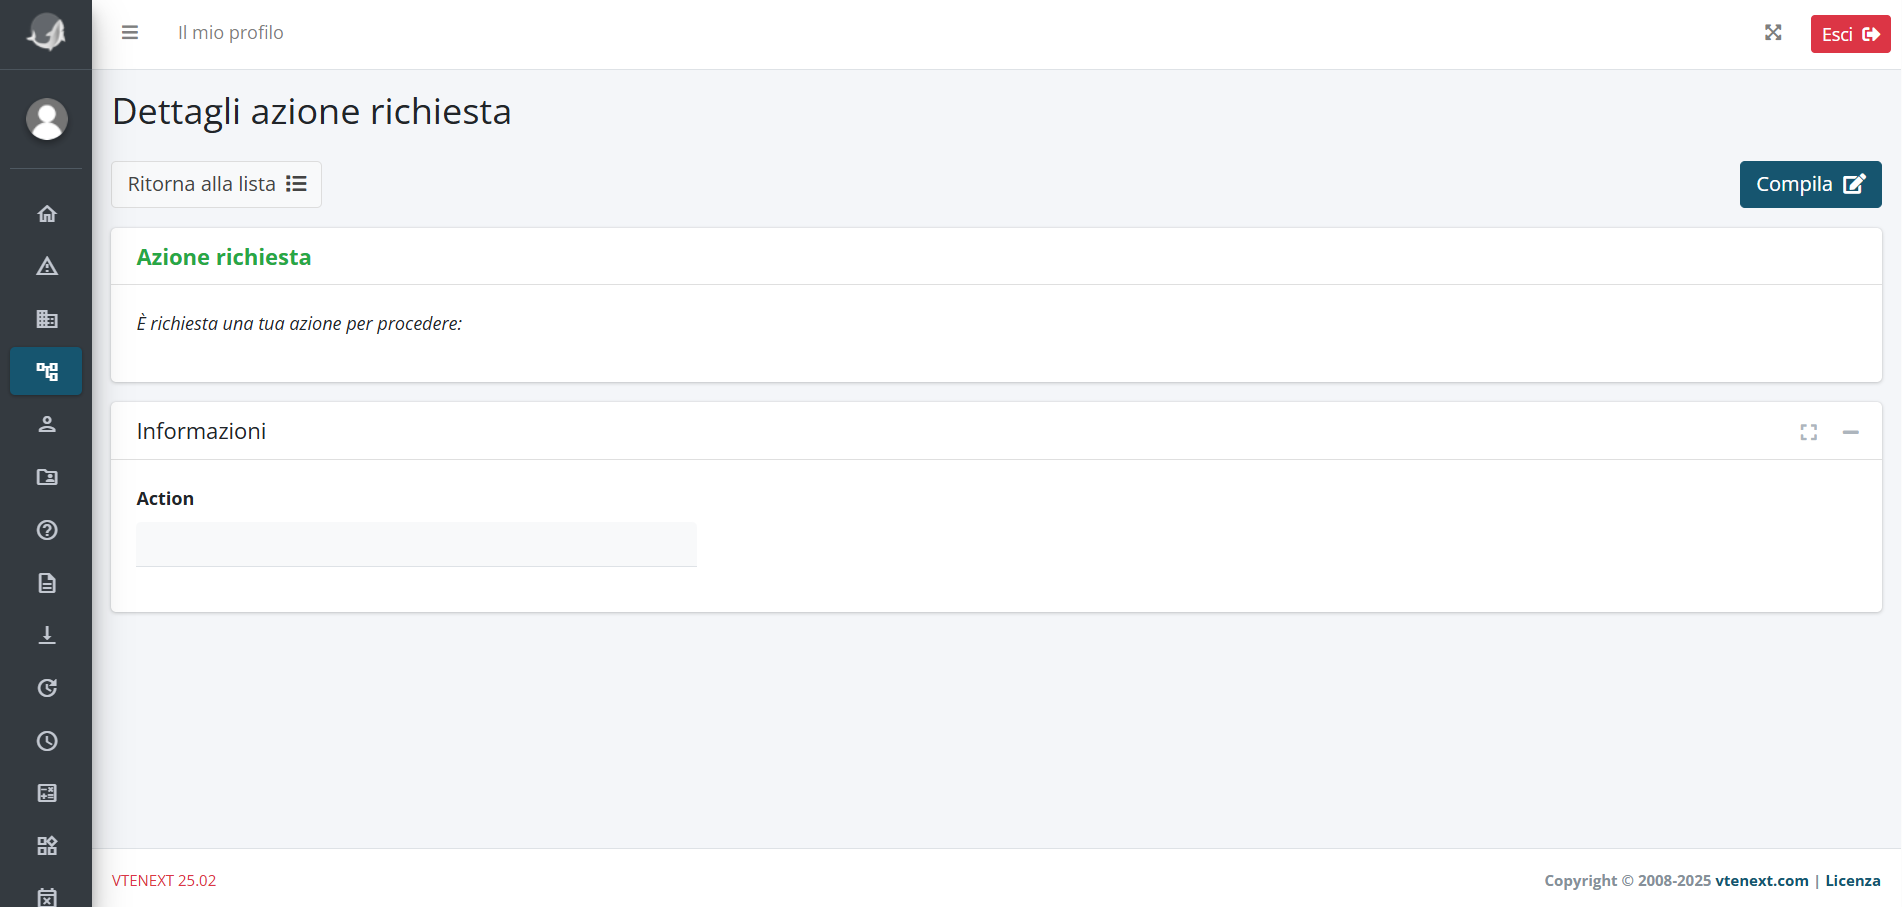 Figura 13