
6.2 Esempio di utilizzo Process Helper per richiesta dati utenti esterni
As anticipated in the introductory chapter, one of the most common uses of the process helper concerns the creation of customized masks that can be presented to external users in order to request and save information.
The blocks and fields that make up these masks are called “dynamic forms”.
In order to configure a process helper, you must first configure an Action Task (create a link with a dedicated section) following the dedicated procedure (Figure 1).
NOTE: it is advisable to use the User Task symbol, as we are indicating an activity that will be carried out by the user.
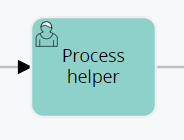
Figure 1
After the User Task, in this specific case it is essential to create a Task within which to perform some checks to allow the process to stop and present the dynamic form (Figure 2).
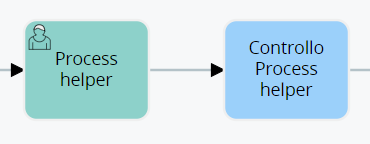
Figure 2
Once inside the User Task (in our example “Process Helper”) in configuration mode, we will find the section called “Process Helper” with all the related fields (see Figure 3)
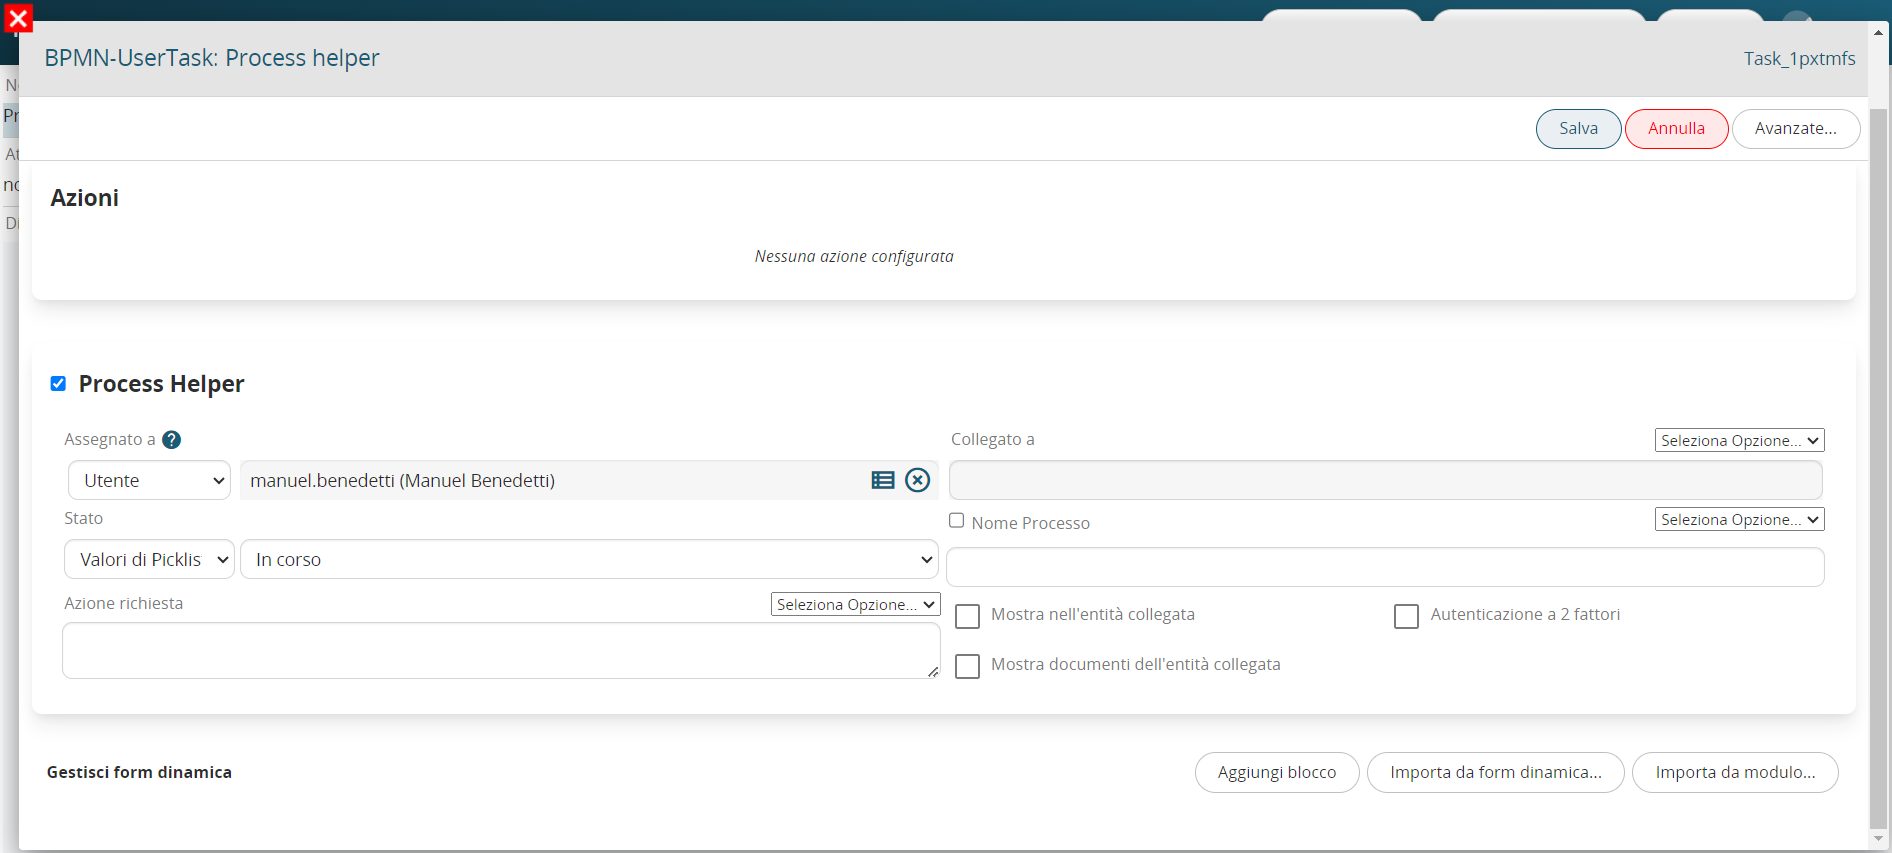
Figure 3
Once the main fields have been configured (Assigned to, Linked to, Action requested) we will create the necessary blocks and fields in the dynamic form in order to save the information that will be entered by the user.
To better understand how it works, below is an example of a process helper aimed at requesting approval of a flow step by filling in a single field called “Action” (Figure 4).
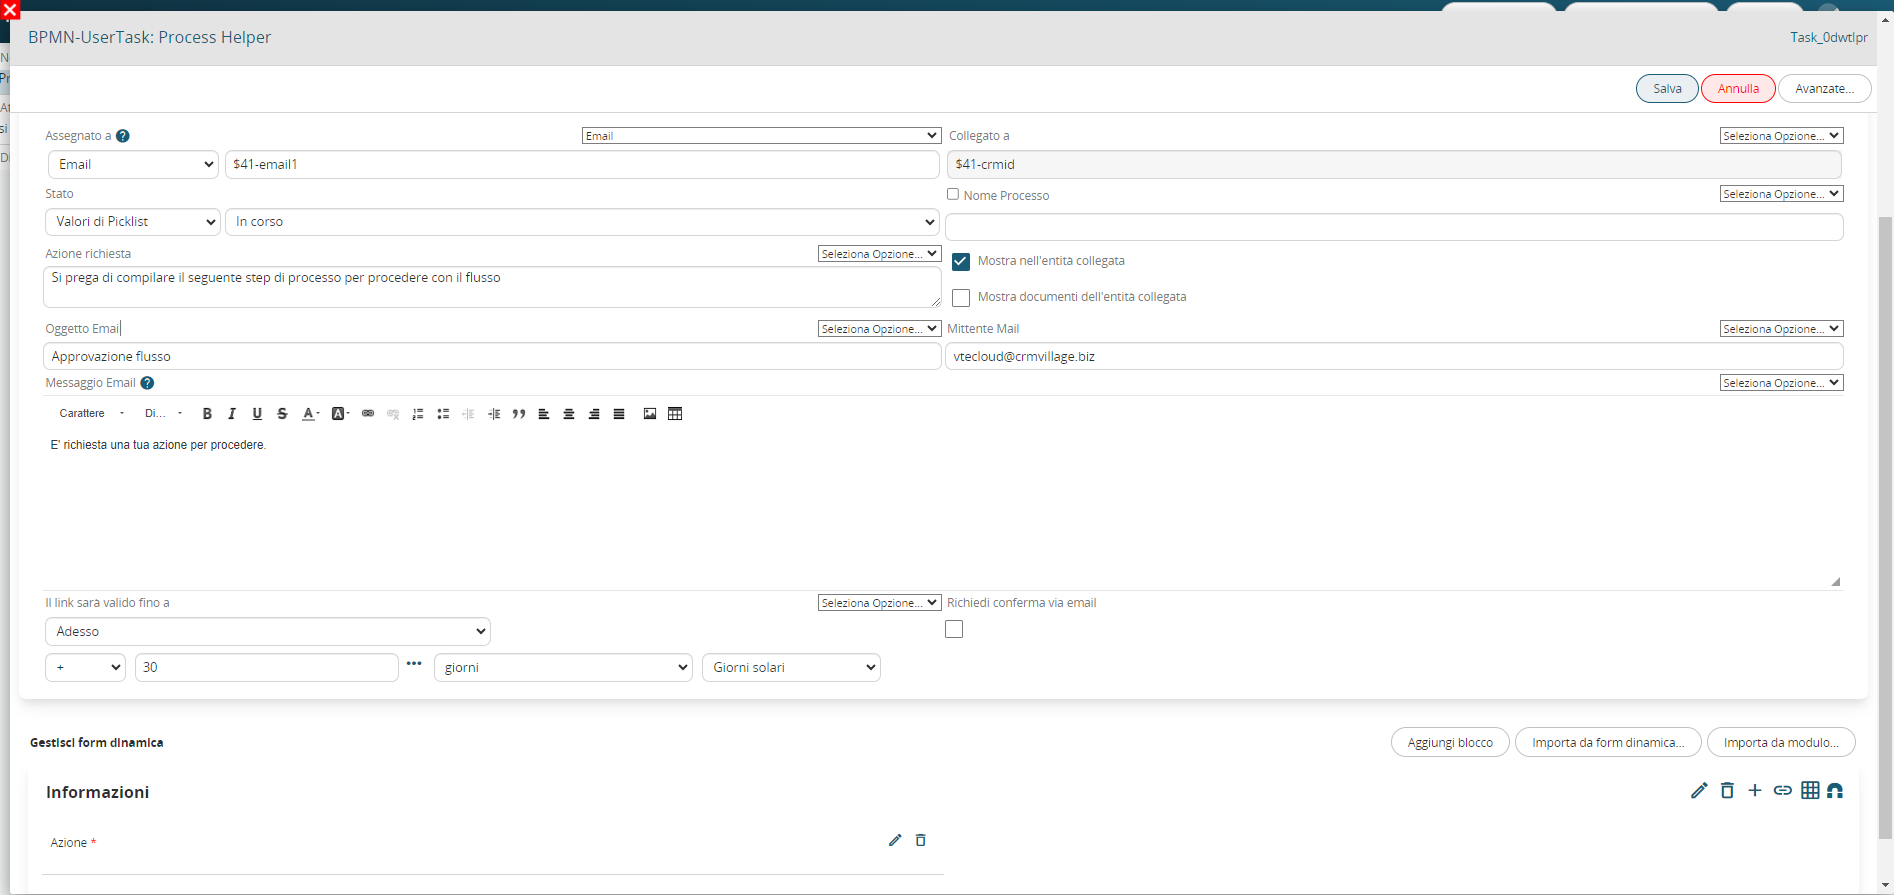
Figure 4
This is a picklist type field with the following 3 static values: “empty”, “APPROVATE” and “DO NOT APPROVE” and with mandatory permissions as Default (Figure 5)
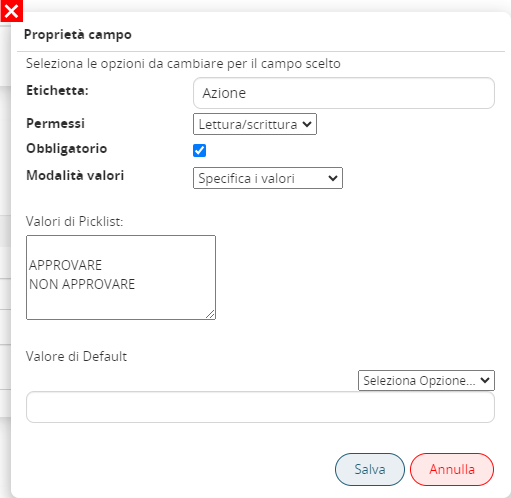
Figure 5
In the associated Control Task (called “Process Helper Control”) a condition is indicated that allows the process not to continue with its flow until a value other than blank has been entered (which instead represents the default value of the picklist) (Figure 6)
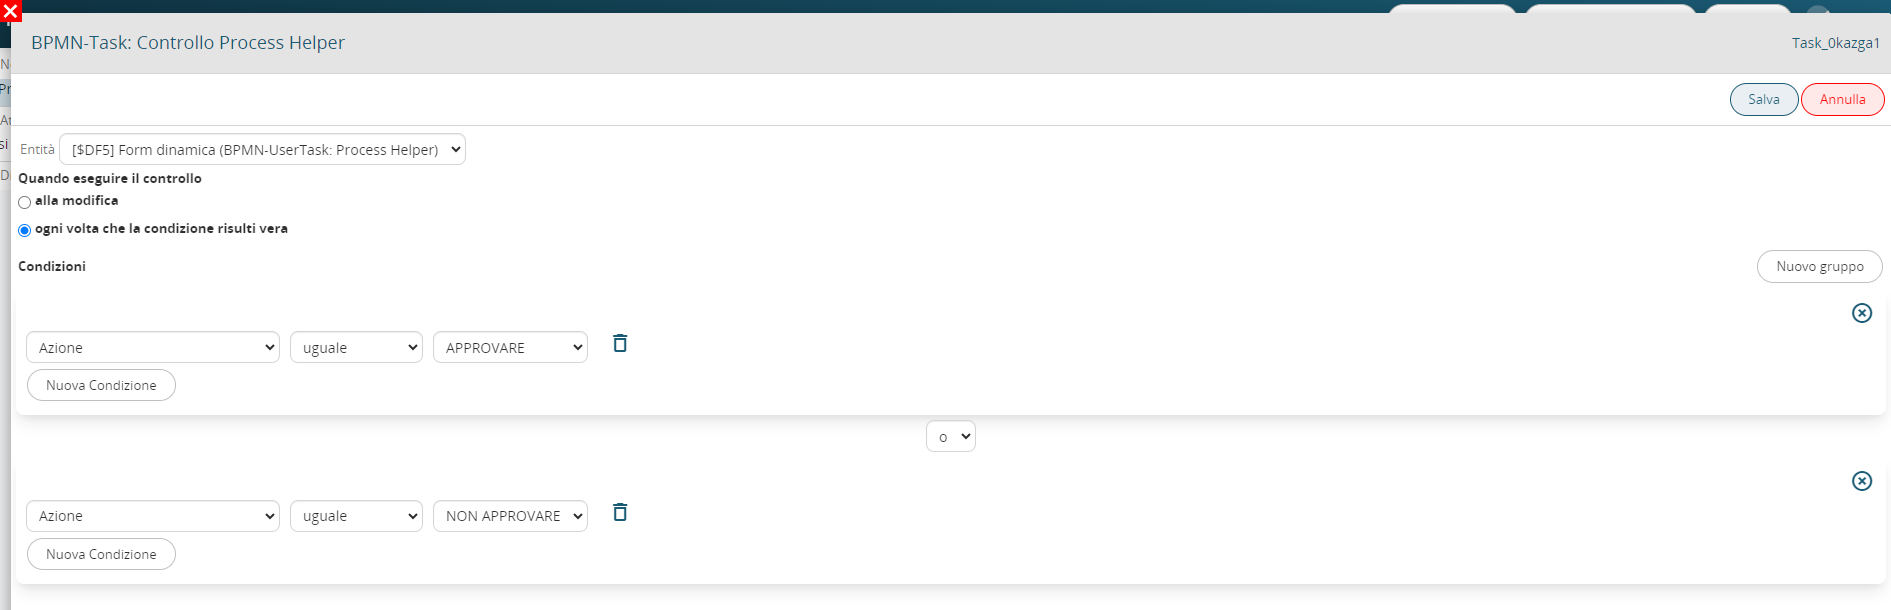
Figure 6
The two conditions inserted in separate groups allow the flow to be routed in two different paths based on the item selected by the user.
On the operational side, an email is sent to the address entered in the “Assigned to” field that has a button called “CLICK HERE” (Figure 7)

Figure 7
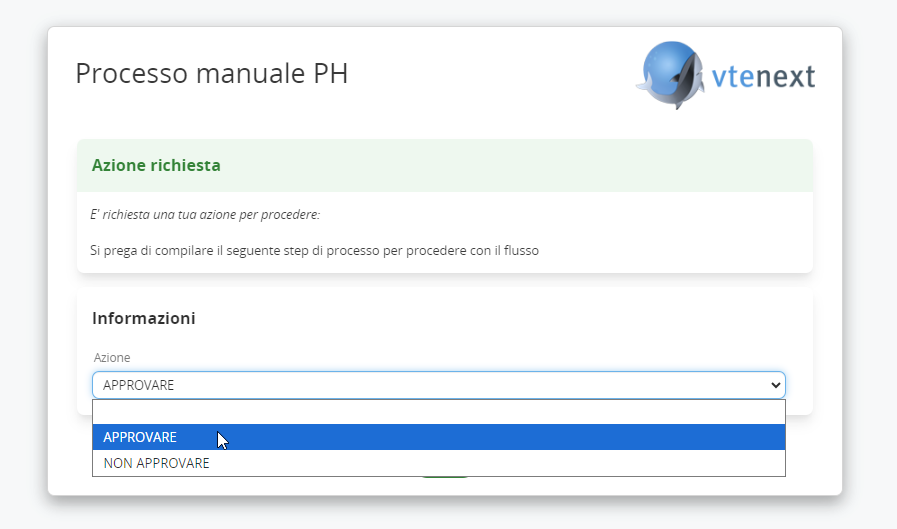
Figure 8
Once saved, a warning message will be displayed on the landing page to indicate that the operation was performed correctly (Figure 9)
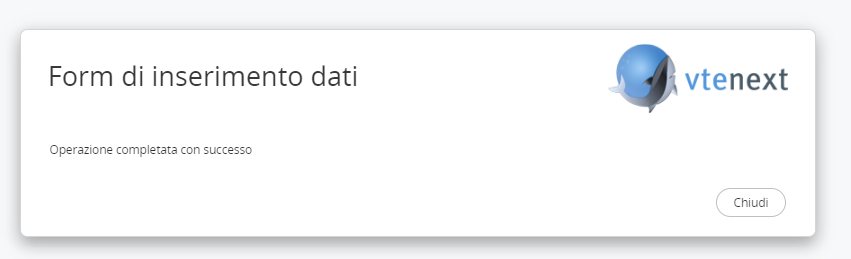
Figure 9