
5.2.2 Writing and reading emails
There are three equivalent options to send an email, e.g. to a contact:
1. clicking on the email address shown in the record or in any vtenext page;
2. clicking on the icon in the light blue toolbar, selecting Write
3. from the Messages module interface, clicking on![]()

All three options lead to the same New Email page.
|
To |
The recipient email address must be entered; you can write the email address or select it from the list (Leads, Accounts, Contacts, Vendors and Users) |
|
CC |
Carbon Copy: you can enter the address of recipients who are to receive a copy of the email |
|
Add BCC |
The copy to email addresses added with BCC will not be visible to the other recipients |
|
Subject |
The subject of your email |
|
Attachments |
You can add attachments to the email by means of the Add file function or by dragging the file to the drop area |
|
Send method |
Single: send a single mail with all visible recipients in the “to” field |
|
Select email Template |
Select one of the available templates saved in Settings > Email templates |
|
Send |
Sends the email |
|
Save draft |
Forces a save of your draft (also occurs automatically) |
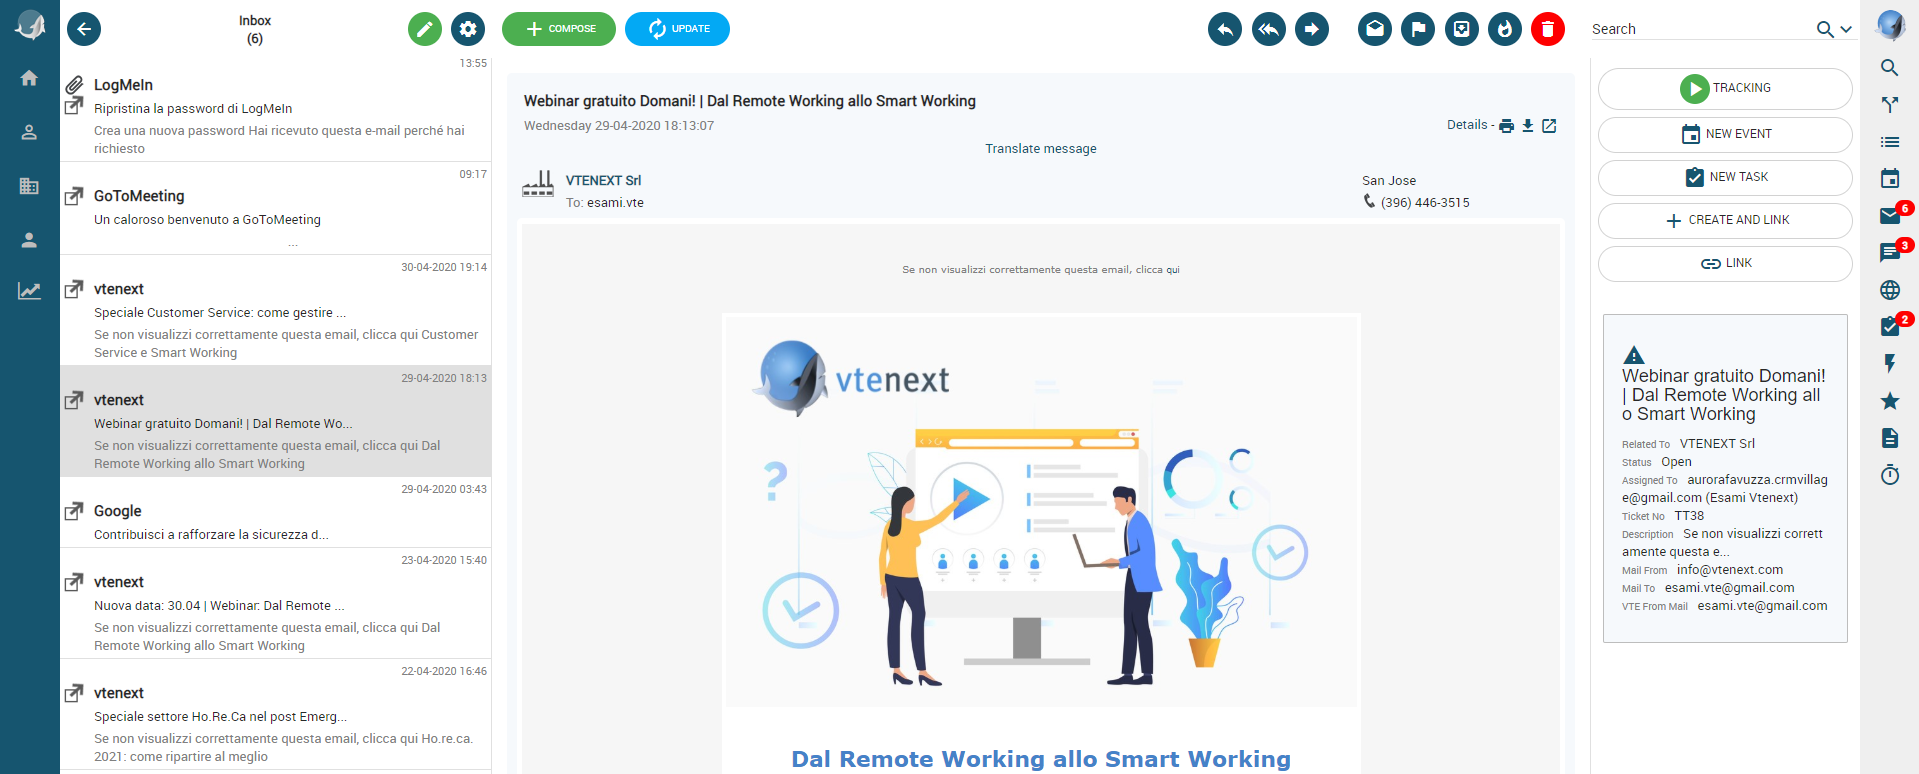
The account view mask is divided into three parts:
|
1° column: |
2° column: |
3° column: |
|
Email list, or |
Sender’s data |
Operations and links available for the email |
|
Folders list by clicking on the Folders button, or |
Body of the email |
|
|
Accounts list, clicking on the Mailboxes button (shown only if more than one account is configured) |
Attachments |
N.B.: Starting with the version 20.04 every time a user answers to an email and the recipient's address is not a record in the CRM a new contact is automatically created.
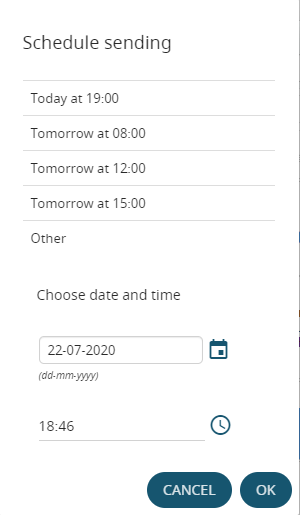
Programmed transmission of an email from the Messages module
From version 19.10, you can program an email to be sent at a later time. In the compose screen, after having entered the subject, the body and the recipient(s), you can click on the arrow located next to the Send button.

This will open a menu item labelled “Program send”.

Selecting this option will open a popup with the facility to set the date and time for sending the email in question (choose one of the preset options or click on “other” to configure the exact time and date to send the email).
Once the email has been programmed, the following functions can be used:
 |
Send now: send the programmed email immediately |
 |
Scheduled sending: reschedule the previously set sending |
 |
Delete: delete the programmed email permanently |
To view the functions mentioned above, simply go to the dedicated folder from the message module (see chapter 5.2.1)
N.B.: Once the sending date and time have been reached, the email will disappear from the scheduled list.