
Update vtenext from 18ce to 19ce
General premises
The update is valid only for vtenext 18ce
You have to enable cron in order to run the update
Please backup the files and the database of vtenext before the update. Follow the instructions in this link.
Update
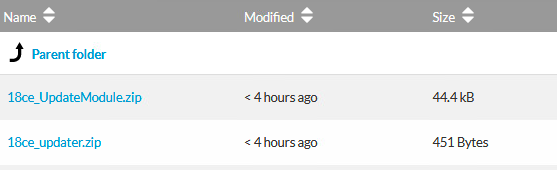
- Open this link and download
18ce_UpdateModule.zipand18ce_updater.zip
- Extract the content of
18ce_updater.zip
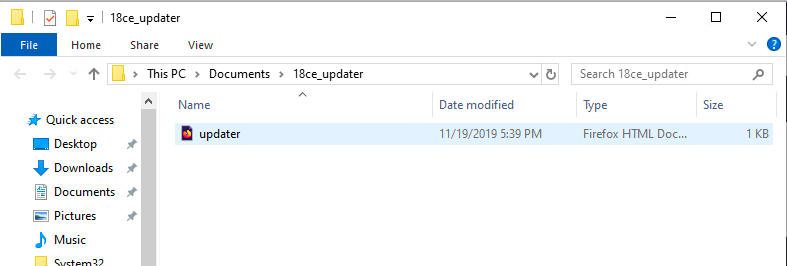
- Copy
18ce_updaterwith its contents inside the root folder of vtenext - Open your web browser and navigate to the url where you installed vtenext. Login and then navigate to updater.html (eg. localhost:81/updater.html) and the page will redirect to the application settings
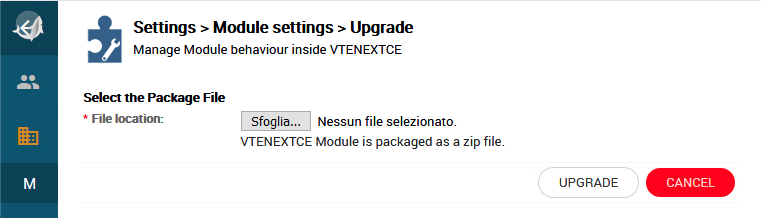
- Upload
18ce_UpdateModule.zipfile
If you have cron enabled, wait 12 hours (the updater checks every 12 hours to avoid server overloads). Otherwise, enable it.
- After 12 hours you will receive a new notification with this text "An update of vtenext is available. Click here for details"

- Click the notification and a new page will open with the details of the update
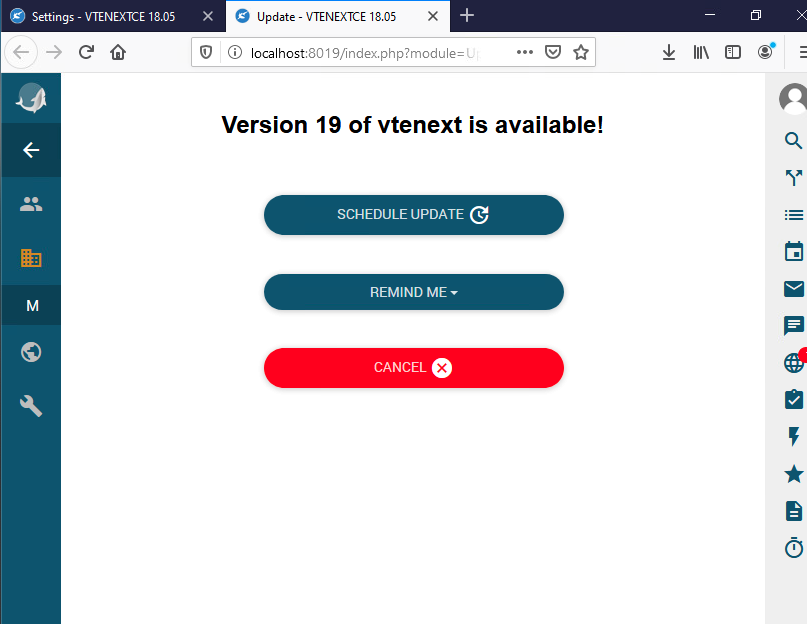
- Click "Schedule Update" and now there will be 2 scenarios depending on the operating system you are using
Windows
Automatic update is not supported on Windows.
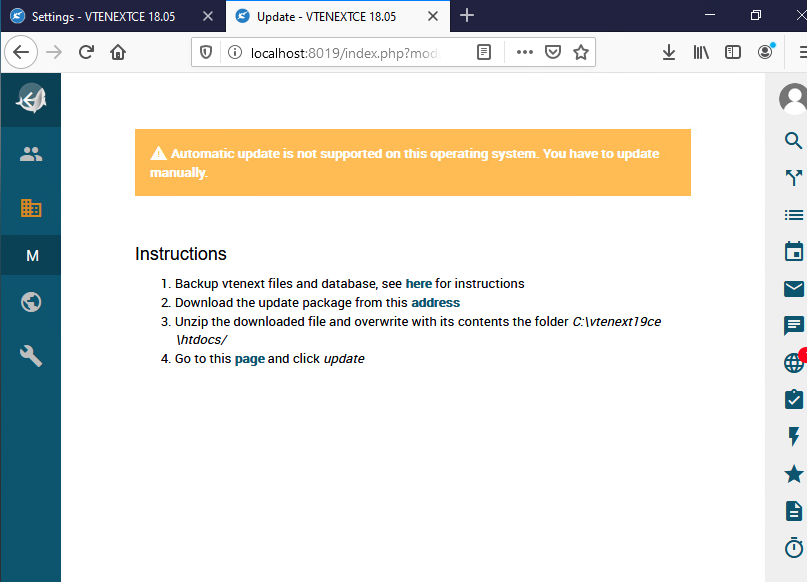
Follow the on-screen instructions to update.
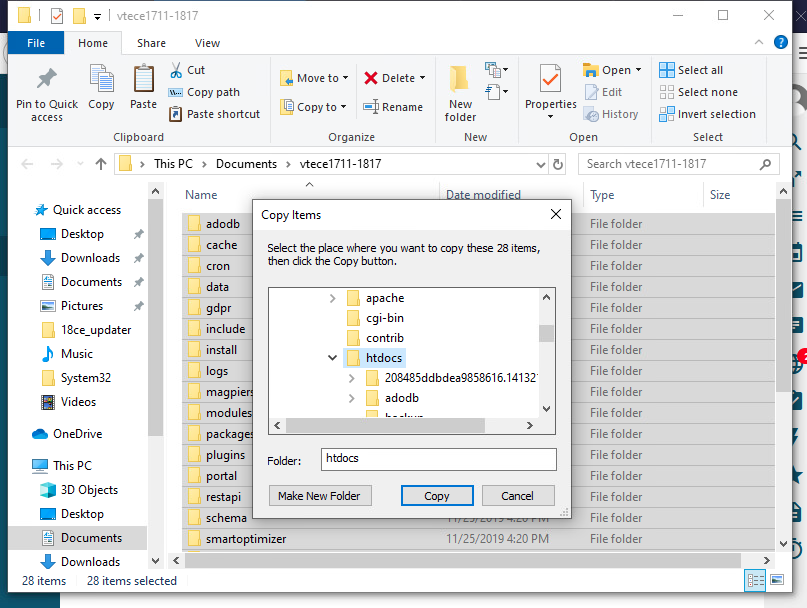
- Backup files and database
- Download the update package
- Unzip the downloaded file and overwrite with its contents the root folder of vtenext
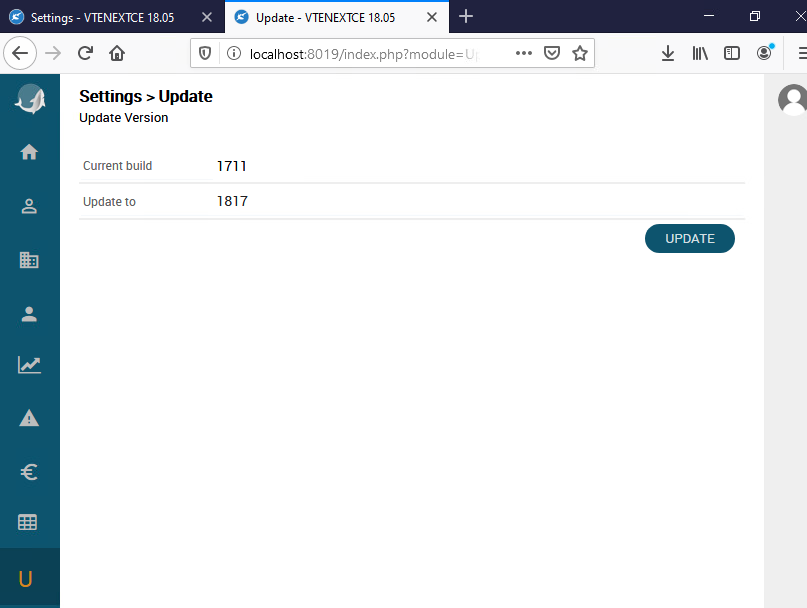
- Follow the point 4 of the instructions
Done!
Linux
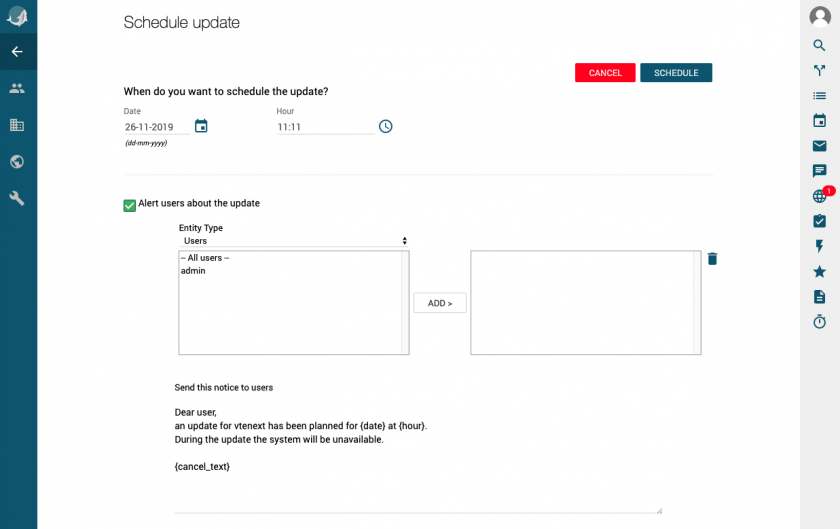
Enter the date and the time in which you want to schedule the update and the list of users to alert.
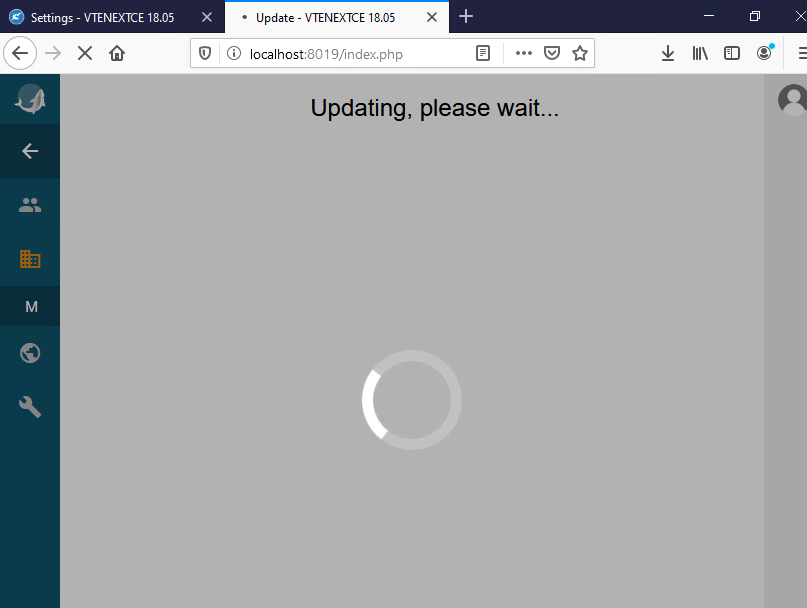
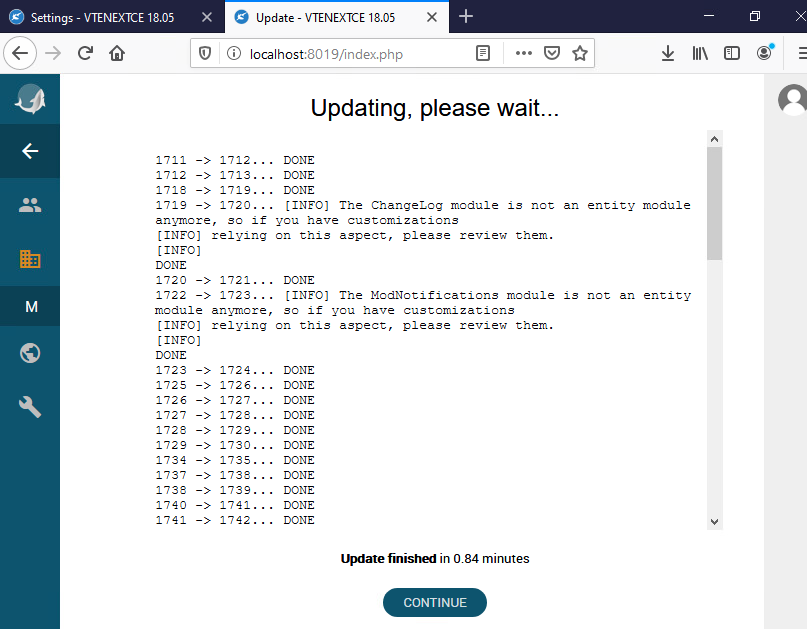
Wait until the selected time and after a while you will see the vtenext in maintenance mode.

Once the maintenance screen disappears, logout and login from vtenext.
Done!