Advanced Process Configuration - LEAD MANAGEMENT

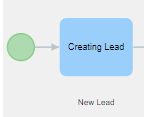
Once the process is graphically designed we work on the interface. Below we can see, step by step, how the configuration is done. In the chart below is reported the process flow for the lead management.
At the moment of its creation the Admin User will define whether to reassign it or to do it later, according to various conditions, it will check if the lead has been taken in charge or not.
In the screen shot is possible to display the process.
To activate it you have to tick on “Active” once the chart and the configuration is terminated.

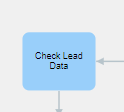
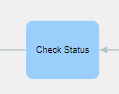
Here at side the first task that checks the lead is filled, by clicking on the task is possible to display the window
below. In “Entity” is possible to choose the module, the Leads one in this case. On “when to run the check” we tick
- “at creation”.
In conditions we set the one that will determinate the action, in this case that the Surname field is not empty
(condition necessary for the management).

Before proceeding with the explanation of the configuration we see in detail the options. When to run the check:
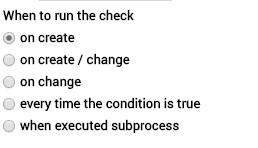
It is important to take in consideration that, for the first three options, a manual action by the user is needed, in the last two it is not.
In the event that we choose to create an action not using the Process Helper is necessary to flag its box. We will later see both procedures.

In the action task window, see above, there are two possibilities: Actions or Process Helper.
In the Action configuration we give instructions to the system so it can proceed automatically with the flow, no manual intervention is needed, those are instruction given to the software. Clicking on new action we can, using the pick list, choose if:
- Send an email or a programmed newsletter;
- Create, Update or Delete an Entity;
- Reset dynamic forms or conditional fields;
- link entities;
- call External Web services;
- we use the Process Helper only when a manual intervention is needed.
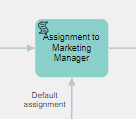
In this Task an “Update Entity” action is created in order to assign the lead to the administrator. Therefore we select New Action and then Update Entity, we choose the module, the Leads one, and we select the field that has to be updated.
In this case the field is “assigned to” as we can see below:


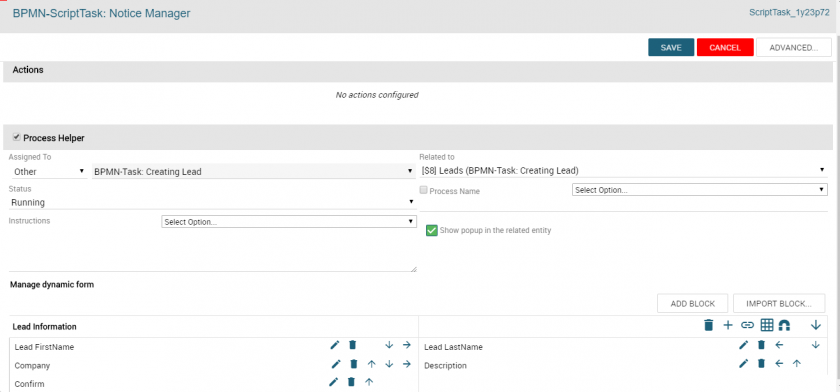
Now a manual sorting is needed to go on with the process, therefore is necessary to use the Process Helper.
Ticking on the box we have to fill:
- - Assigned To Here we choose “Admin User” that is in charge of sorting the Leads.
- - Related to The desired module
- - Status That can be Running, Waiting or Ended.
- - Instructions Instruction for the user that has to perform the action.
The data for the dynamic form management can be filled in the Process module or directly in the selected entity by ticking “Show pop up in the related entity”.
In the previous slide, using the Process Helper, we have added specific information regarding the process.
It is possible to create dynamic forms with specific blocks and fields, that will be filled during the flow, those information will be reported in the process but not in the modules’ records.

In this example, we ask the assigned user, through the process helper, if is needed to reassign the lead with the chance to select the new assignee and confirm the action using the check-box “Re-assigned?”.
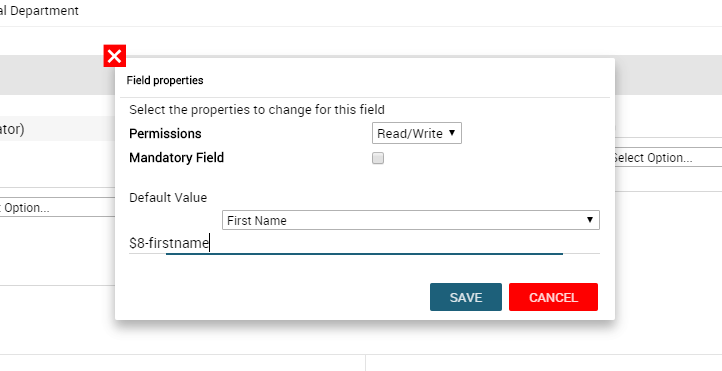
Furthermore, some fields of the Lead record are in read-only mode.
This configuration and the default value are set by clicking on the pencil of every field.

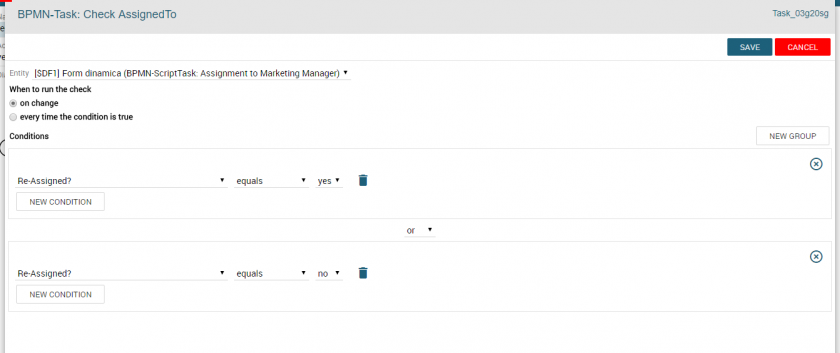
The next task is the condition “Check Assignee”, to reassign the lead to a new user. With this task, that goes on with a gateway, the process is divided in two different paths. In the first the lead is assigned to the new user, in the second the lead is still assigned to the original user. In this event the check is run on change because a check-box already has a default value (false). Every flow is represented by a group of conditions. The user intervention is therefore needed.
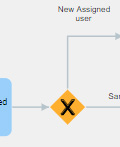
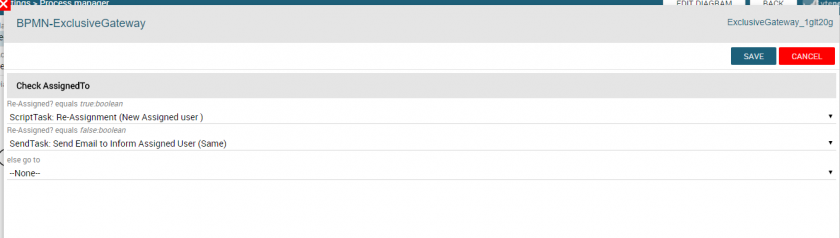
In the Gateway the flow is divided in two paths, if the lead is reassigned it will take the “New Assignee” direction,
otherwise, if its not changed, it will take the direction “Same Assignee”.


This task is an action script that assigns the lead to the new selected user. We click on “New Action”, here we chose update entity, to reassign the lead to the new user. In this situation there is no need for a manual action, we proceed by creating an automatic procedure by giving the instruction to the software.

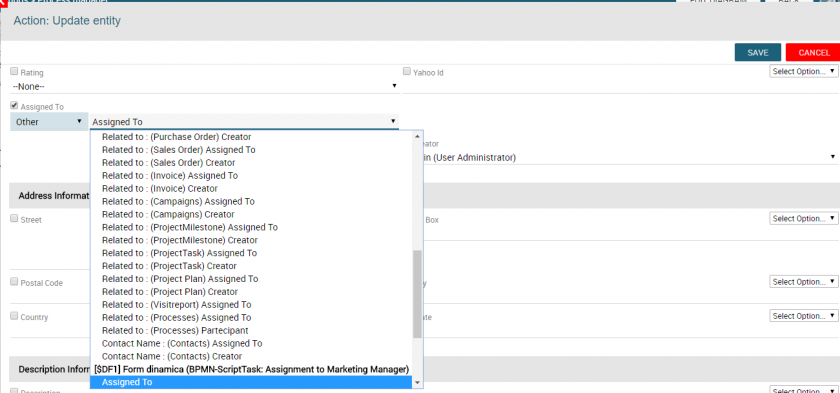
Once clicked on the pencil symbol the following screen opens, it contains the fields of the chosen module, the Leads one in this case. Using the fields we will give the instructions for the actions.
Here we want to update the field “Assigned to” with the new selected user by selecting “Other” and the desired value from the pick list.
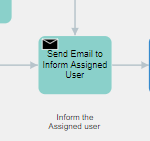
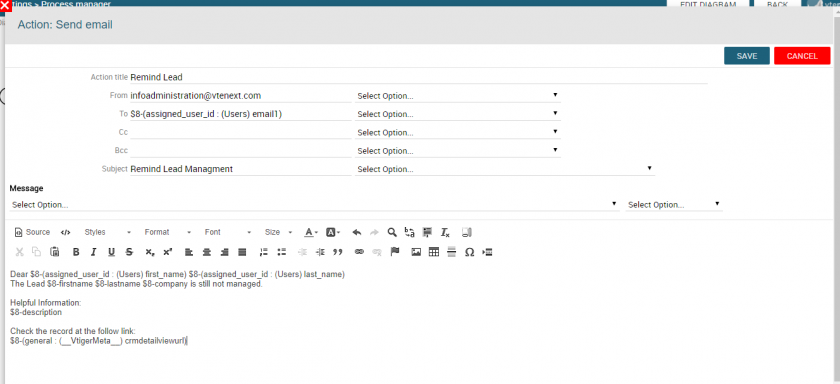
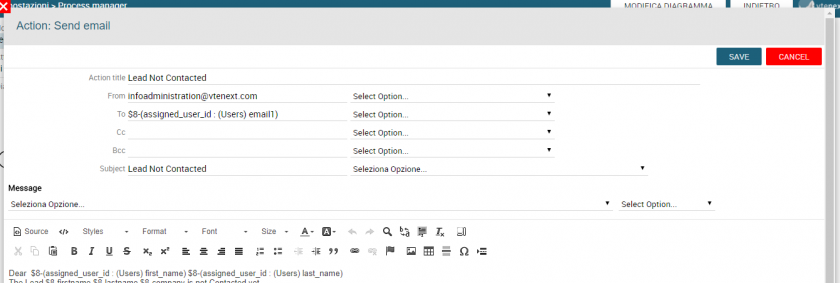
At this point the two paths will be reunited by the same action, the email sending to the assignee of the Lead.
Summing up, whether the Lead has been reassigned or not, the mail will be sent to the user in charge.
So we create a New Action --> Send Email.
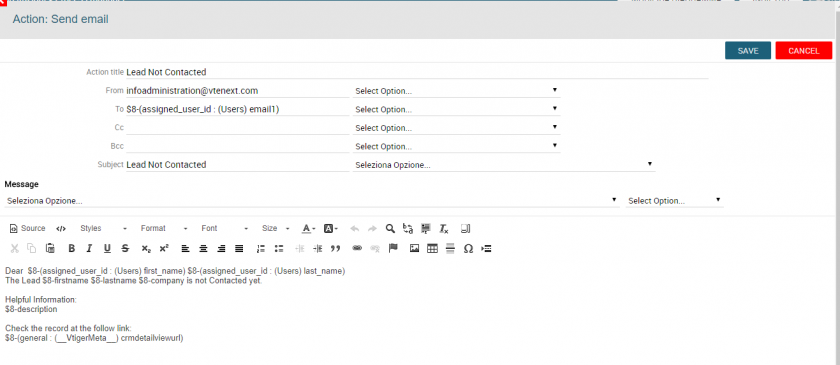
Along with the Email sending, other advanced settings are configured.
At this point of the process we want some fields to be in “read only” mode.

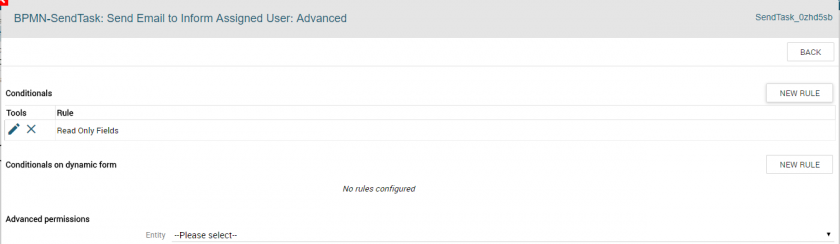
Using this page we can manage the Identity fields:
- Set a default value
- Read only mode
- Read/Edit mode
- Mandatory


At this point the process stops and waits for a condition to occur. This condition occurs when the field “Lead Status” changes.
Now we set the different paths that the process can take.
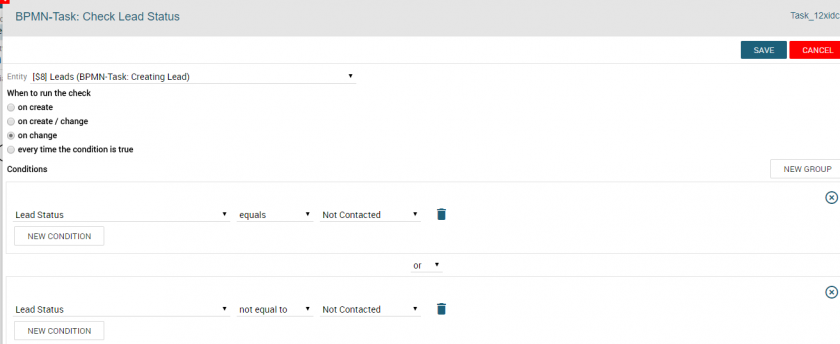

Once again using the Gateway we define the paths on the basis of the conditions decided in the previous box.
Here the flow changes depending on the Lead Status:
- “Not Contacted” - The Lead wasn’t managed by the assignee therefore the Sales Manager has to be alerted.
- “Other Status” - The process continues with the following steps later described.
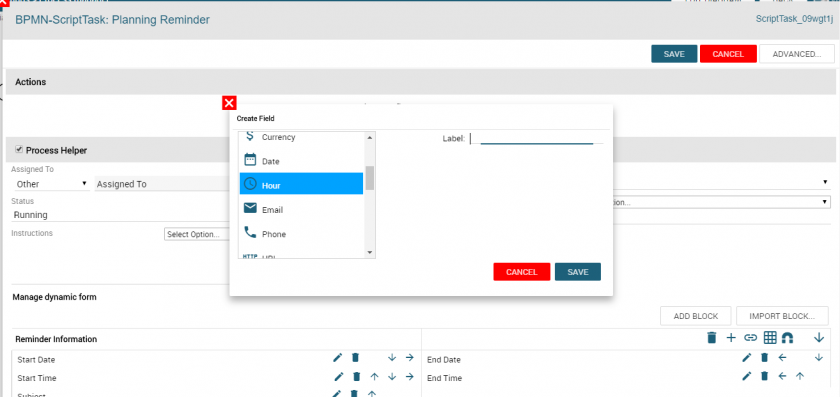
At this point there is a pop up that helps the assignee to create an event of reminder.
Once again we use the Process Helper with the following fields:
- Date (Start Date, End Date)
- Time (Start Time, End Time)
- Text (to name the reminder)
This step requires the user intervention.
We check the data to verify that the user has filled all the necessary fields. (date, time, name).

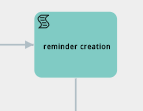
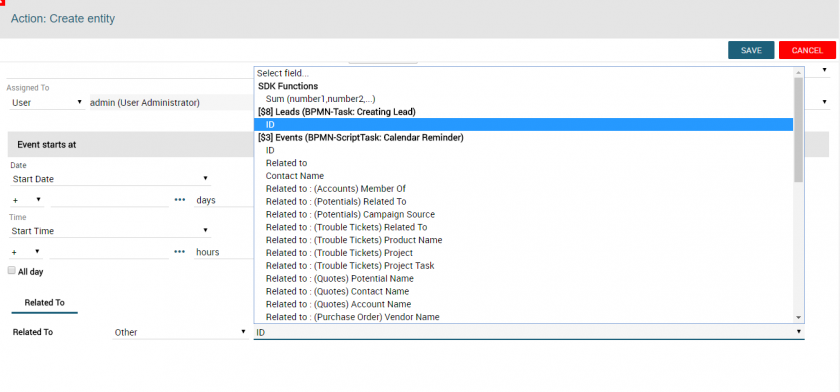
In this Script Task a new entity is created, the Lead’s reminder, which has been updated with a Status different
from “Not Contacted”. The user will display in its calendar the created event with date, time and text.
New Action ----- Create Entity ------ Event Module
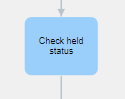
Now the process waits until the user changes the event status to held. This means that the lead has been managed.


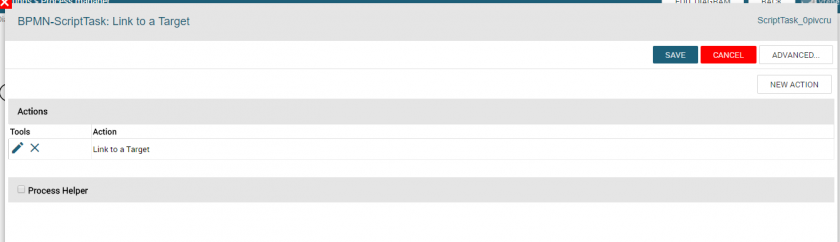
n this Task a linking action is performed. If the process reaches this point it meas that all the conditions have been
satisfied and therefore the Lead has to be linked to an existing Target.
We create a new action, “Link static entities”, and then clicking on the desired module (Target in this case) and the
related record.
The difference between “Link entities” and ”Link static entities” is:
- “Link Entities”: links two entities contained in the process
- “Link static entities”: links an entity contained in the process with one that is not, but is contained in a record of a preexisting module.
In this case we link the Lead record involved in the process with a static entity, “Targets”, by selecting the desired record.

At this point, to maintain a correct flow, we create a condition regarding the Lead.
This condition is not mandatory for the flow to go on, but it is recommended since the following element is a Timer, so to avoid too many sequential actions.


As previously said, this is a Timer (Intermediate CatchEvent – TimerEventDefinition). It allows to put in hold for minutes/hours/days the process before proceeding with the following Task.
Here we wait 5 days to check if the lead has been managed or not.

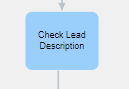
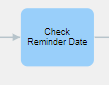
Once the time is up the flow proceeds with the following Task, a Condition Task in this case, designed to check if the field “Description” has been filled.
This is done to understand if the lead has been managed or if it needs to be reassigned.


Now we draw a Gateway to divide the flow. If the Description field has been filled the process ends, if not the reassignment process begins.
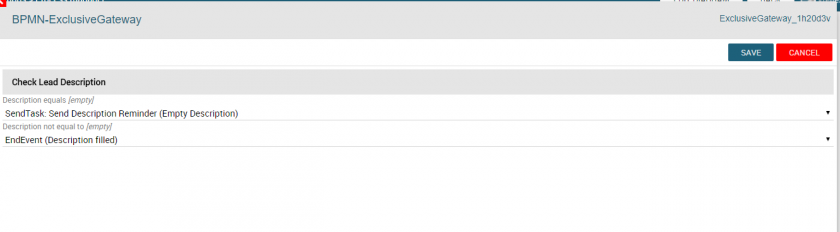

In the example below the “Description” field has been filled and so the process end with an End Event by setting the process’ status on “Ended”.


In the other case, if the “Description” field stays empty an automatic email is sent to inform the assignee
that the Lead wasn’t managed.

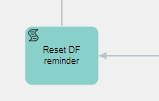
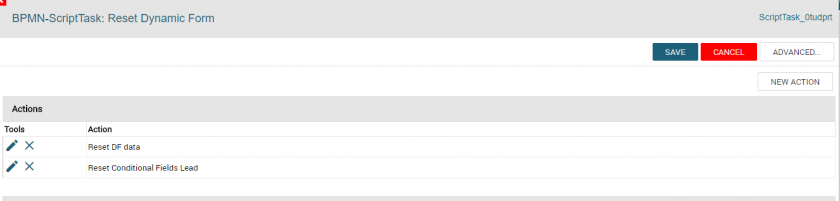
At this point the process restarts all over again. Therefore all the data placed in the dynamic forms will be erased.
In our case the concerning data are the one contained in the reminder’s dynamic form.
Furthermore the event previously saved is automatically deleted since, with the new flow, another one will be created.
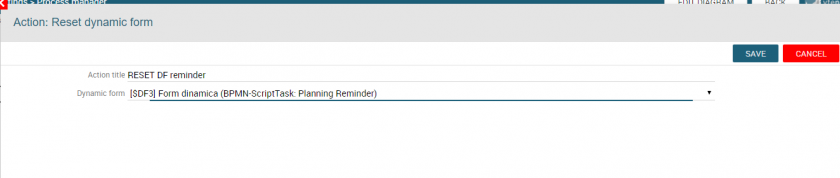
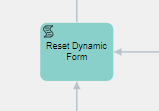
New Action - - - - Reset- - - - Dynamic Form

From here it is possible to select the Dynimic Form we want to reset.
Two actions are therefore created:
- Reset Dynamic Form “Create Reminder”
- “Delete Event entity”
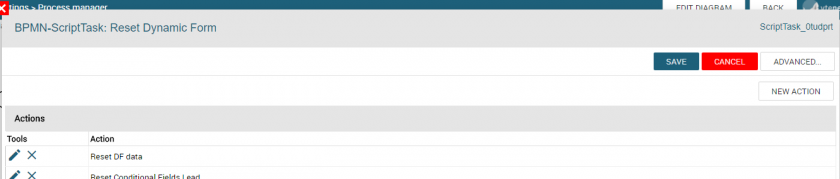
Even the data regarding the first dynamic form are reset, that is to say the pop up that reassigns the Lead to the user. Moreover the conditional fields previously set are restored. Now we go back to the original setting, without data in “read only” mode.


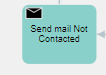
This Task represents the second path, where the Lead’s status is “Not Contacted”.
For sure if the status is “Not Contacted” it won’t be contacted anymore, so the admin user is notified with a pop up of the situation with the chance to confirm or not the ongoing situation.
It is possible to manage all the dynamic form’s fields by clicking on the “Advanced” button and then on “New Rule” in “Conditionals on dynamic form”. From here we choose the settings of the fields, for example read only, mandatory, etc.


If the condition decided by the admin user occurs the process goes on with the following Task.

In this Task an email with the relevant data regarding the non contacted lead is sent. After that the process ends with an End Event.