18.3 Customer Portal
It's possible to configure the functions of your customer portal through the 'Customer Portal' section within the settings.
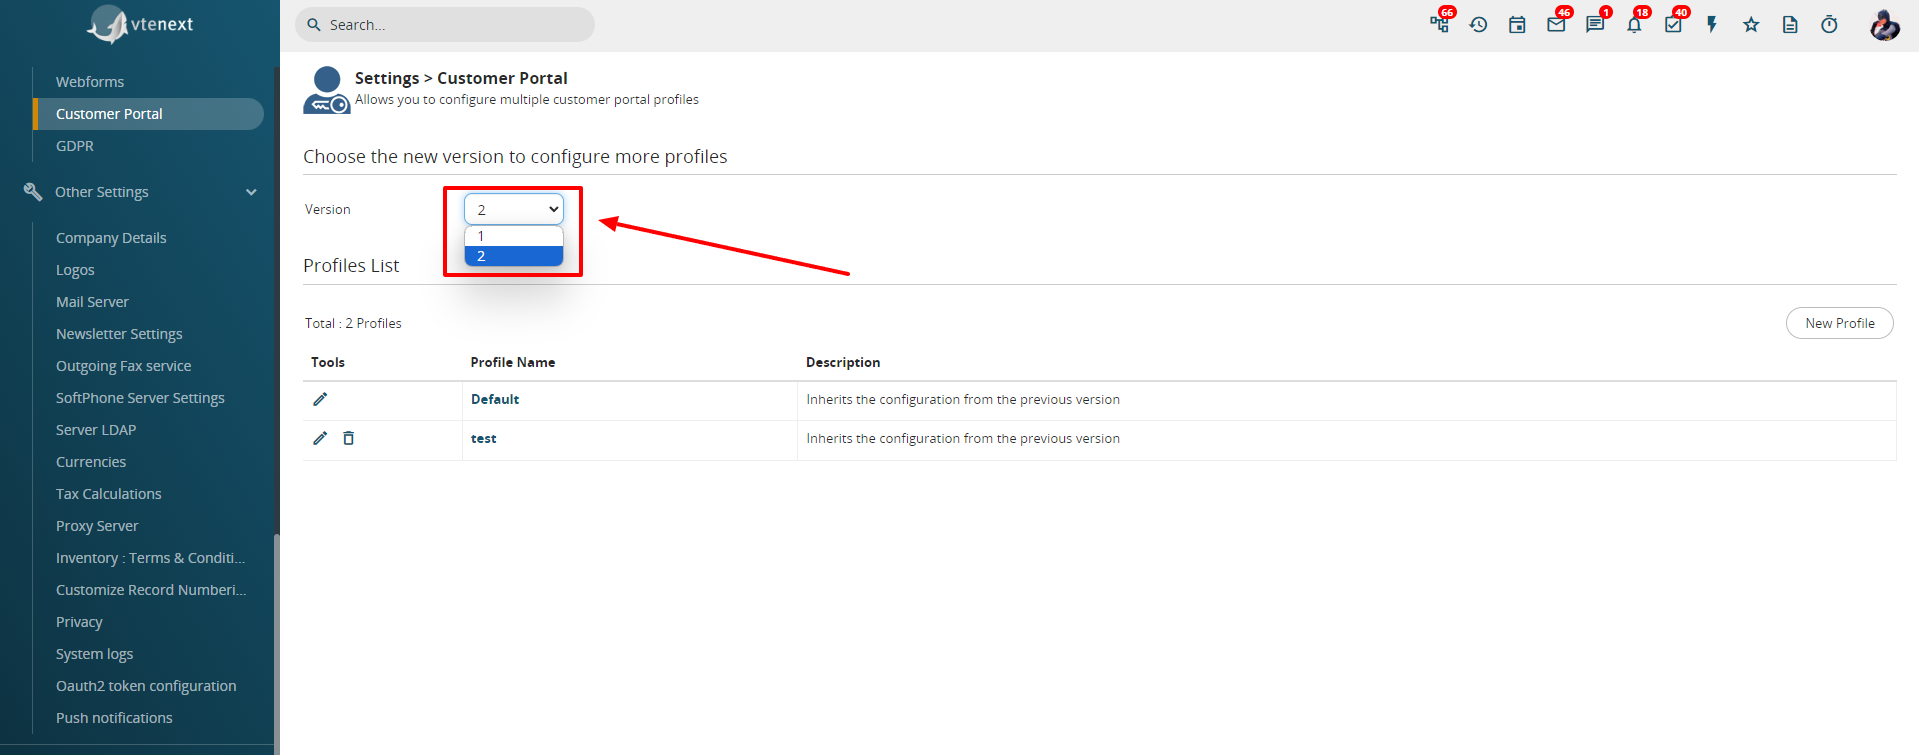
In updated versions of vtenext (i.e., when transitioning from an old release to the current one), you will be able to choose via a dropdown menu which version of the portal to make available for your customers.
However, for new installations there won't be a choice, and you can only use the new Portal (Version 2).
CUSTOMER PORTAL VERSION 1
In Basic Settings, you can:
1. choose which items (modules) should be active on the portal side;
2. define the order of the items;
In Advanced Settings, you can further define:
the visibility of data through the option to View all records.
![18.3 [1].png](https://usermanual.vtenext.com/uploads/images/gallery/2022-06/50R18-3-1.png)
- Yes: the customer displays both the data related to their contact details (tickets, documents, etc.) and the data related to the company registry to which they are linked
- No: the customer displays only the data related to their contact details and not those related to the company to which they are linked.
Through the Select user option (a disabled user can also be chosen), it is possible to select a CRM user, also disabled, with a specific configuration of entries for the standard fields. The portal will display precisely those items in the available drop-down menus. When a Ticket is created by the Client Portal, it is assigned to this user. It is possible, however, to assign the Ticket to another CRM user. The assignee will receive an immediate email notification. This function is very useful for the management of active Tickets.
![18.3 [2].png](https://usermanual.vtenext.com/uploads/images/gallery/2022-06/icN18-3-2.png)
Through the Select the email template option you can decide which email template the system should use to communicate portal access information.
CUSTOMER PORTAL VERSION 2 (some functions are paid)
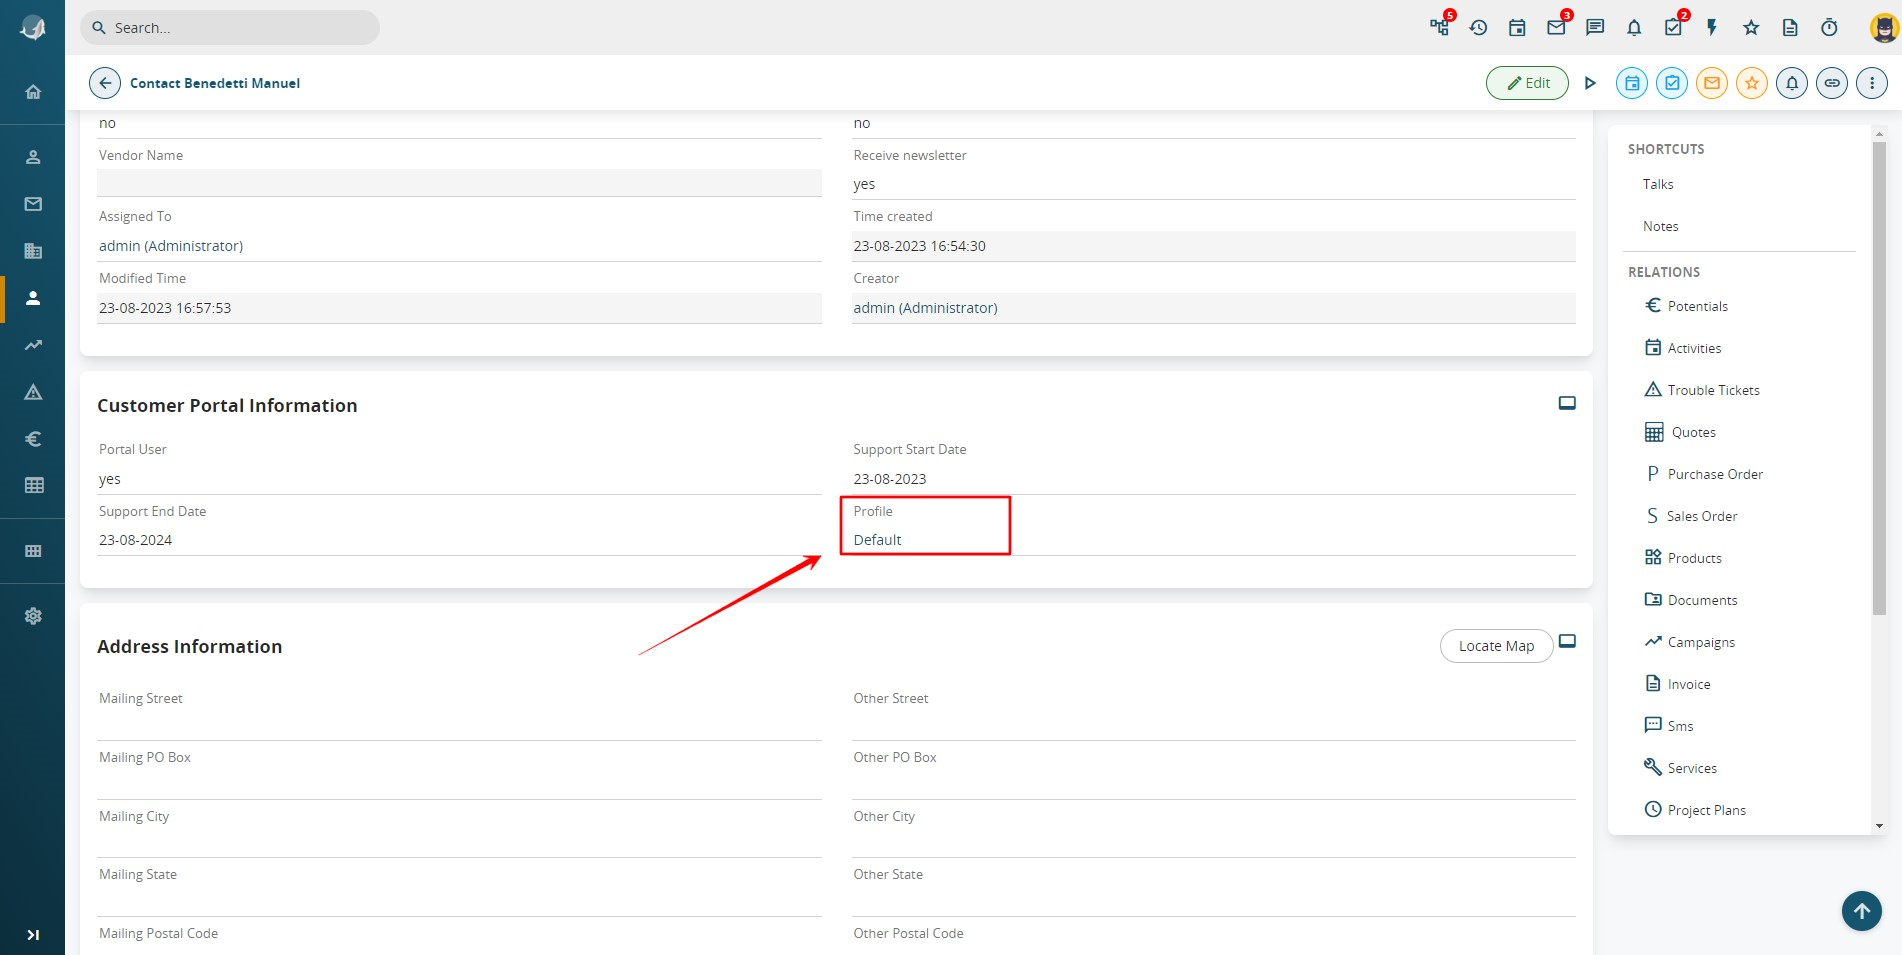
The new version of the Customer Portal provides an entirely new experience for the accessing customer. It allows configuring interface views through the creation of dedicated Profiles, directly assigning them to individual Contacts from the CUSTOMER PORTAL INFORMATION section.
Now let's see how from the Customer Portal Settings, it's possible to create new Profiles (this feature requires a fee). By selecting Version 2 of the Portal (where this option is applicable), the new profiles configuration or management page will appear.
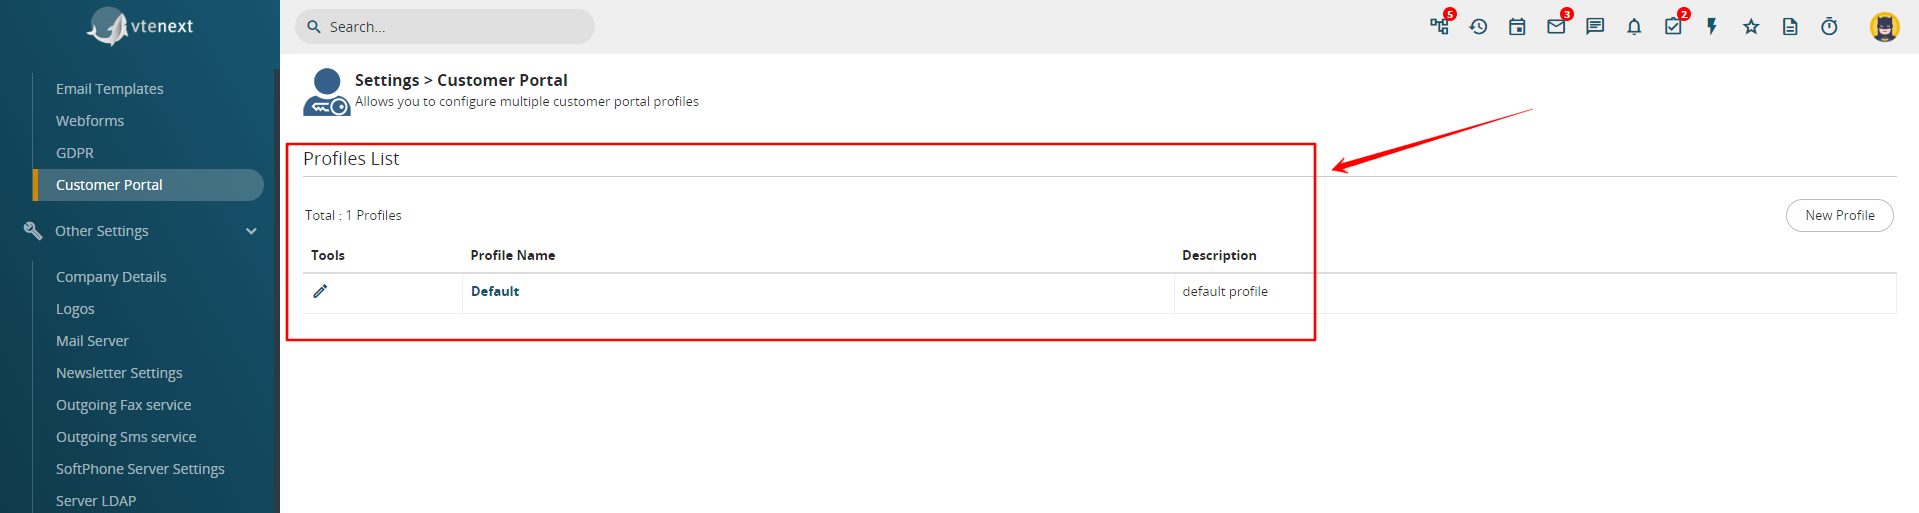
As standard, we have only the profile named DEFAULT, which allows starting with a basic configuration. But let's see how to create a new custom profile.
By clicking on NEW PROFILE on the right side, you will access the creation page as shown in the following image:
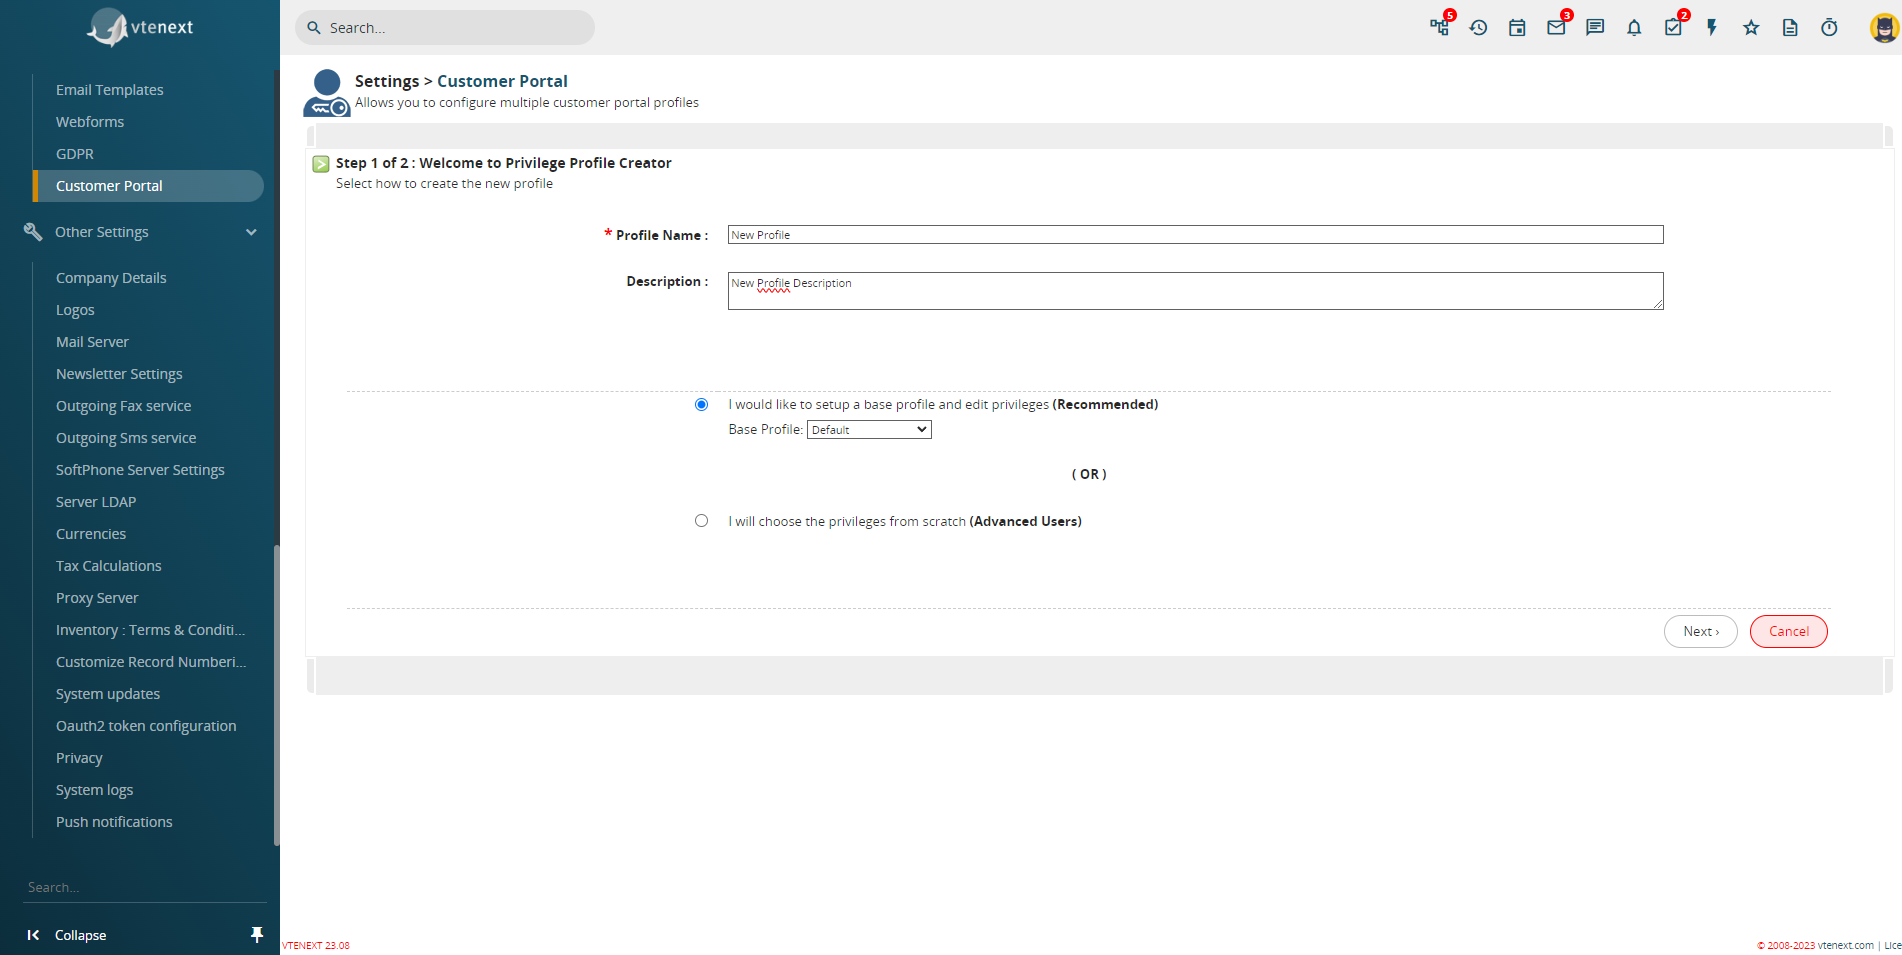
The page resembles the one for creating standard user profiles, so you should essentially follow the same process – choose a name, a description, and select which profile to start from for the new configuration. Finally, click on NEXT at the bottom right.
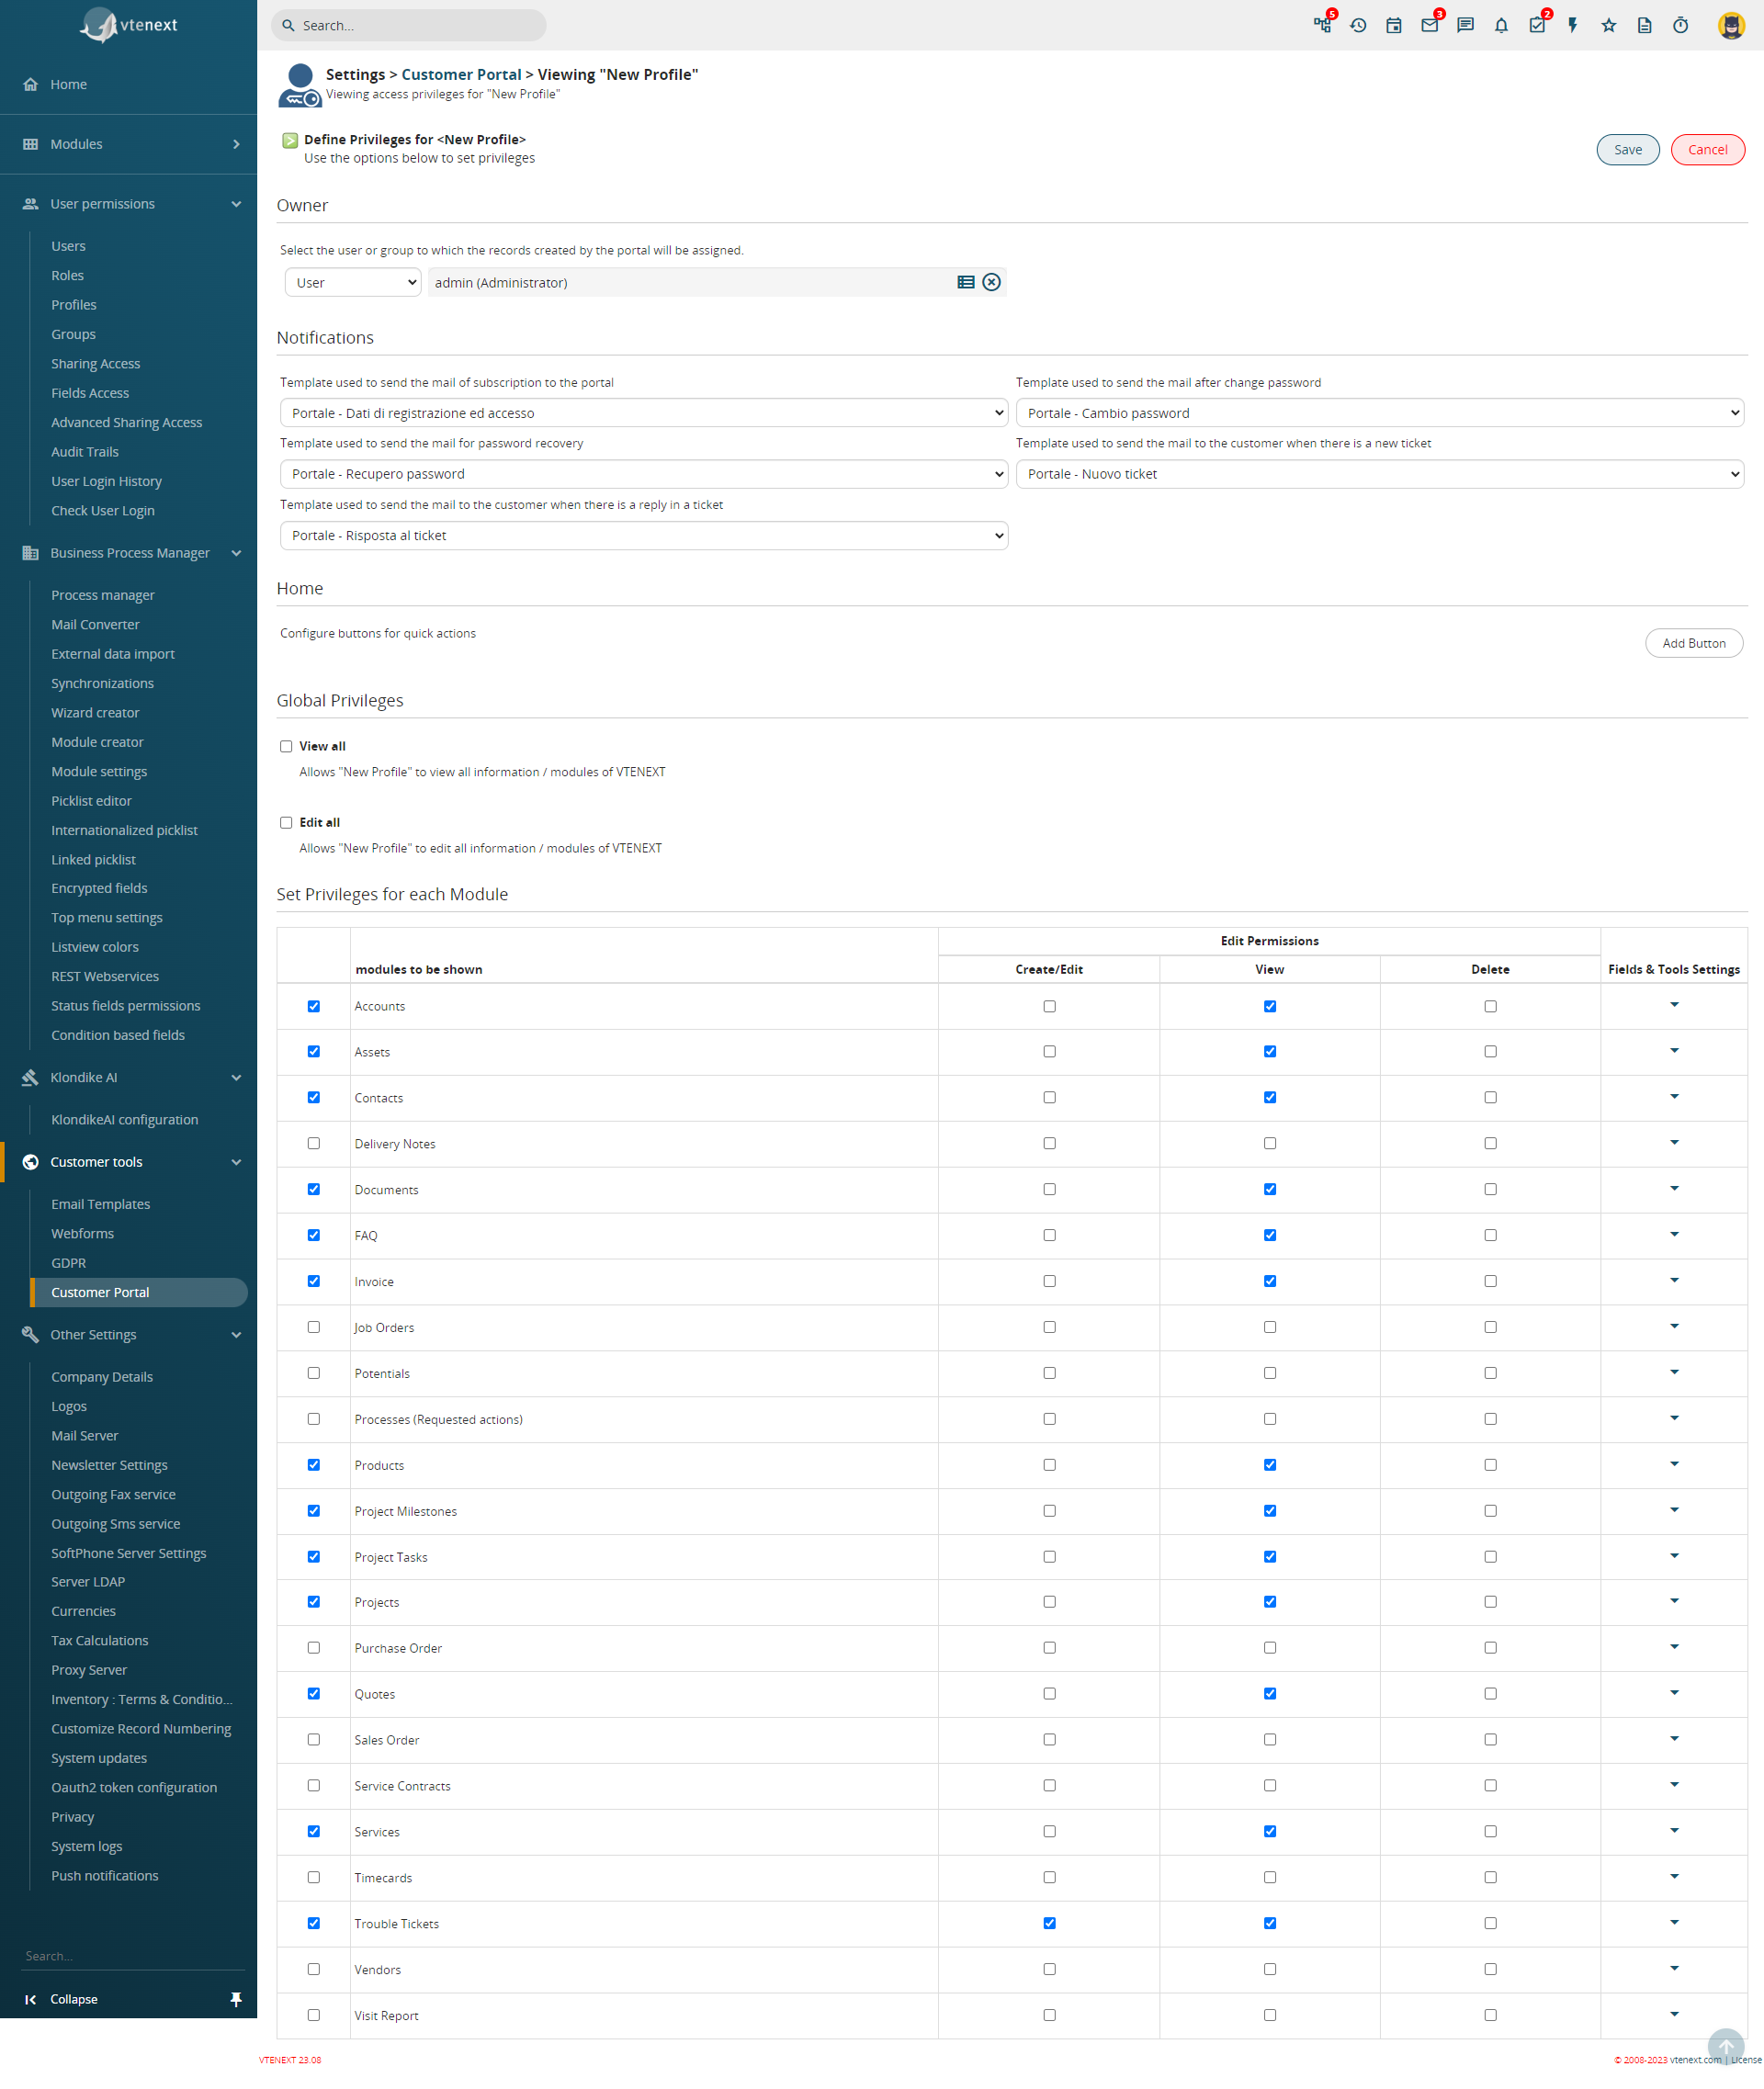
On this page, you can configure several functions, which we'll summarize in the following table:
|
Assignee |
You can select the CRM user to whom all records created from the portal will be directly assigned; |
|
Notifications |
It offers the possibility to select email templates, which can be customized through creation or modification using the dedicated EMAIL TEMPLATE section in SETTINGS, for exchanging information with the portal user. The options are:
|
|
Home |
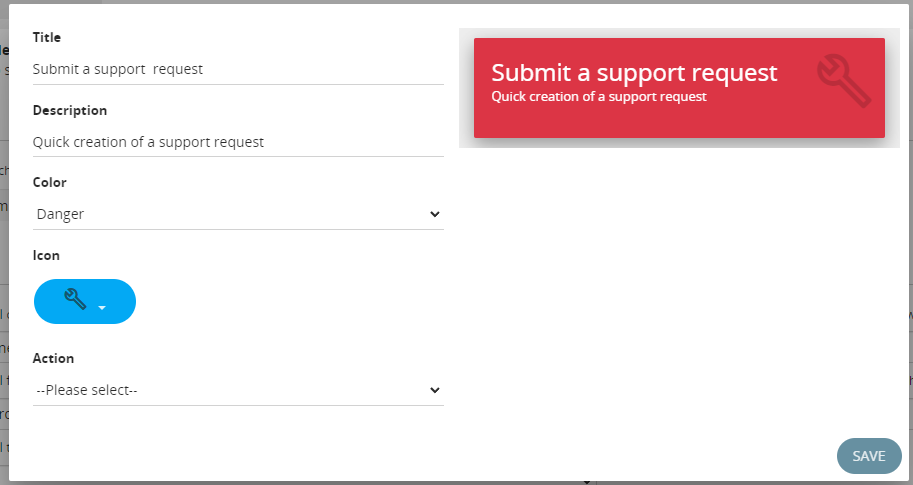
It allows configuring buttons for quick actions on the portal home page. By clicking on ADD BUTTON on the right, you can enable a window from which to set:
Button Creation Screen
Button List Viewing Screen
The order of the buttons can be changed through drag-and-drop. |
|
Global Privileges |
It offers the possibility to configure all privileges for each individual user profile, determining what they can or cannot do or see through the customer portal. You can apply these settings to all modules of vtenext. |