
6.5 Example of using Process Helper to activate Process Graph
Configuring a process helper within a process allows you to activate the section called “Process Graph” available in the “PROCESS GRAPH” tab of the details of each individual record (Figure 1)
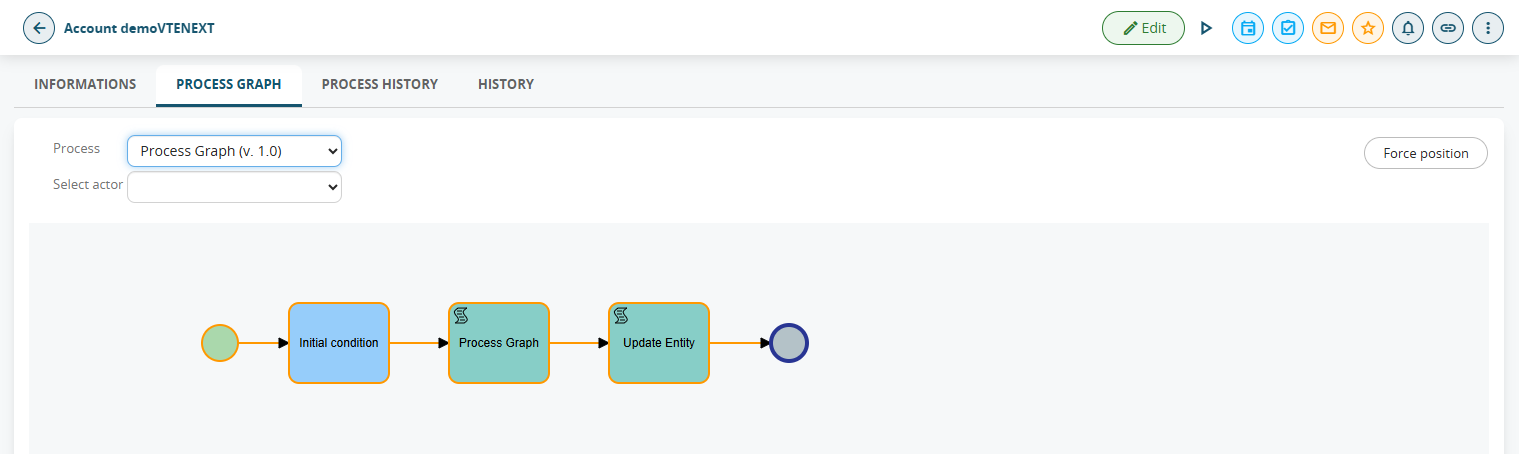
Figure 1
From this screen you can view the path taken from start to finish and the users (called “Participants”) involved in the various Tasks/Action Tasks of the process (Figure 2).
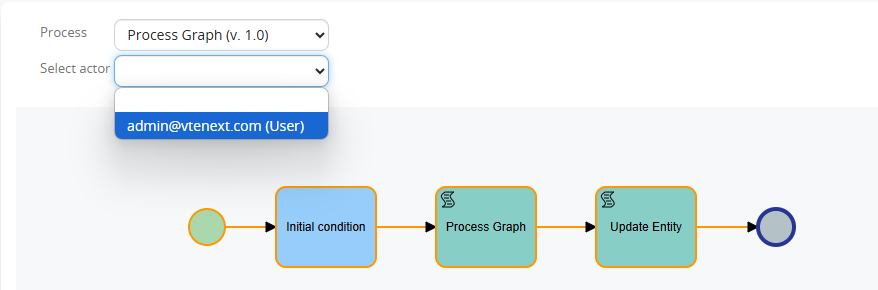
Figure 2
Also, since version 24.08, the individual Tasks/Action Tasks of the process that have already been executed are highlighted in yellow (Figure 3)
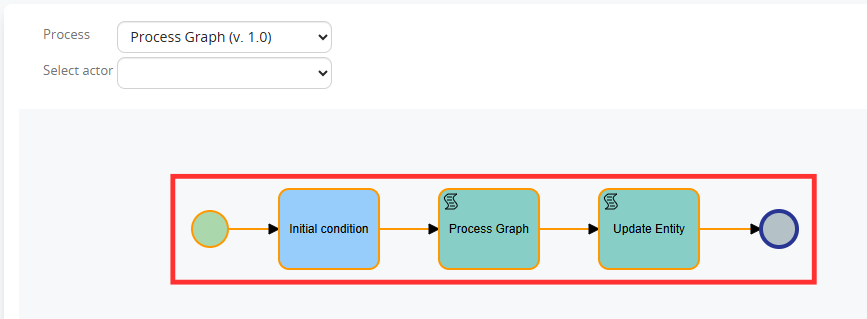
Figure 3
Instead, the point where the process is located at that specific moment is highlighted in blue (Figure 4).
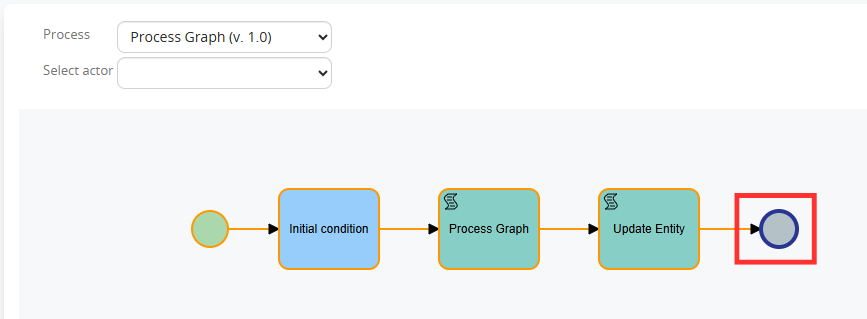
Figure 4
By clicking on each individual Task/Action Task it is possible to view the specific logs relating to those who performed the specific task and the relative time frame (Figure 5)
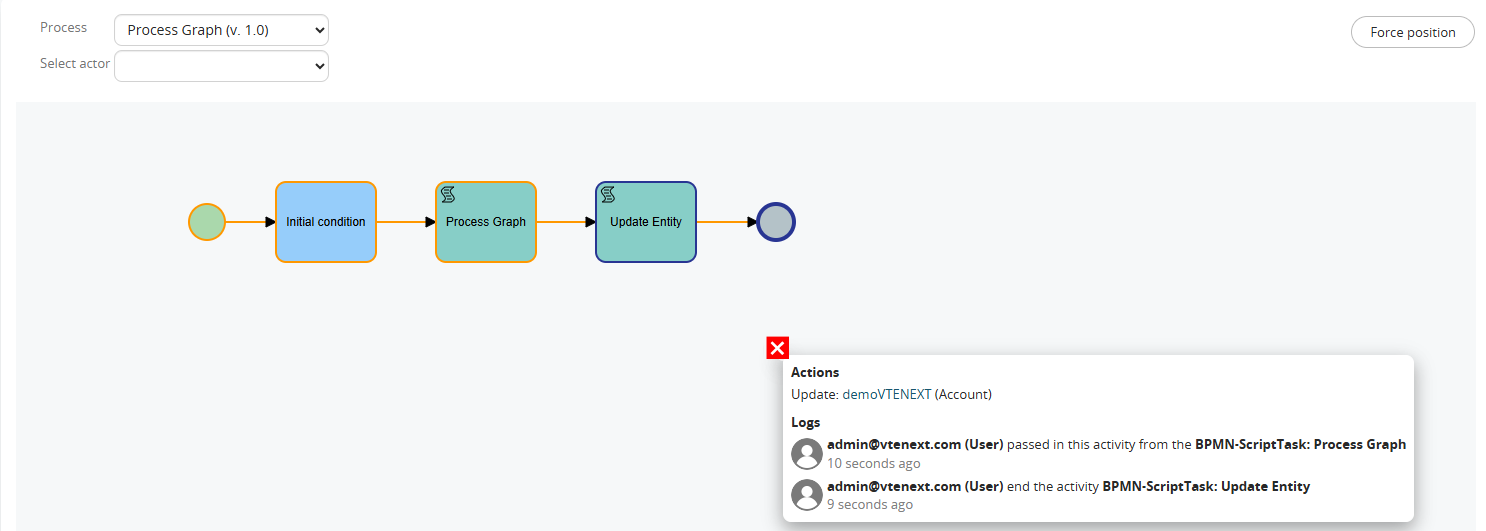
Figure 5
From version 24.08, if a dynamic Form is configured in a Process helper, clicking on the related Action Task and then on “Details” will allow you to view its content (Figure 6)
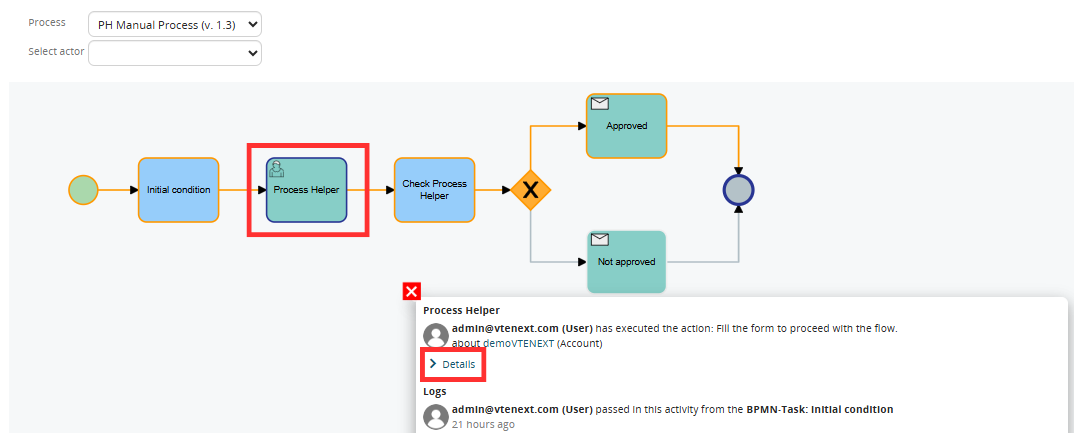
Figure 6
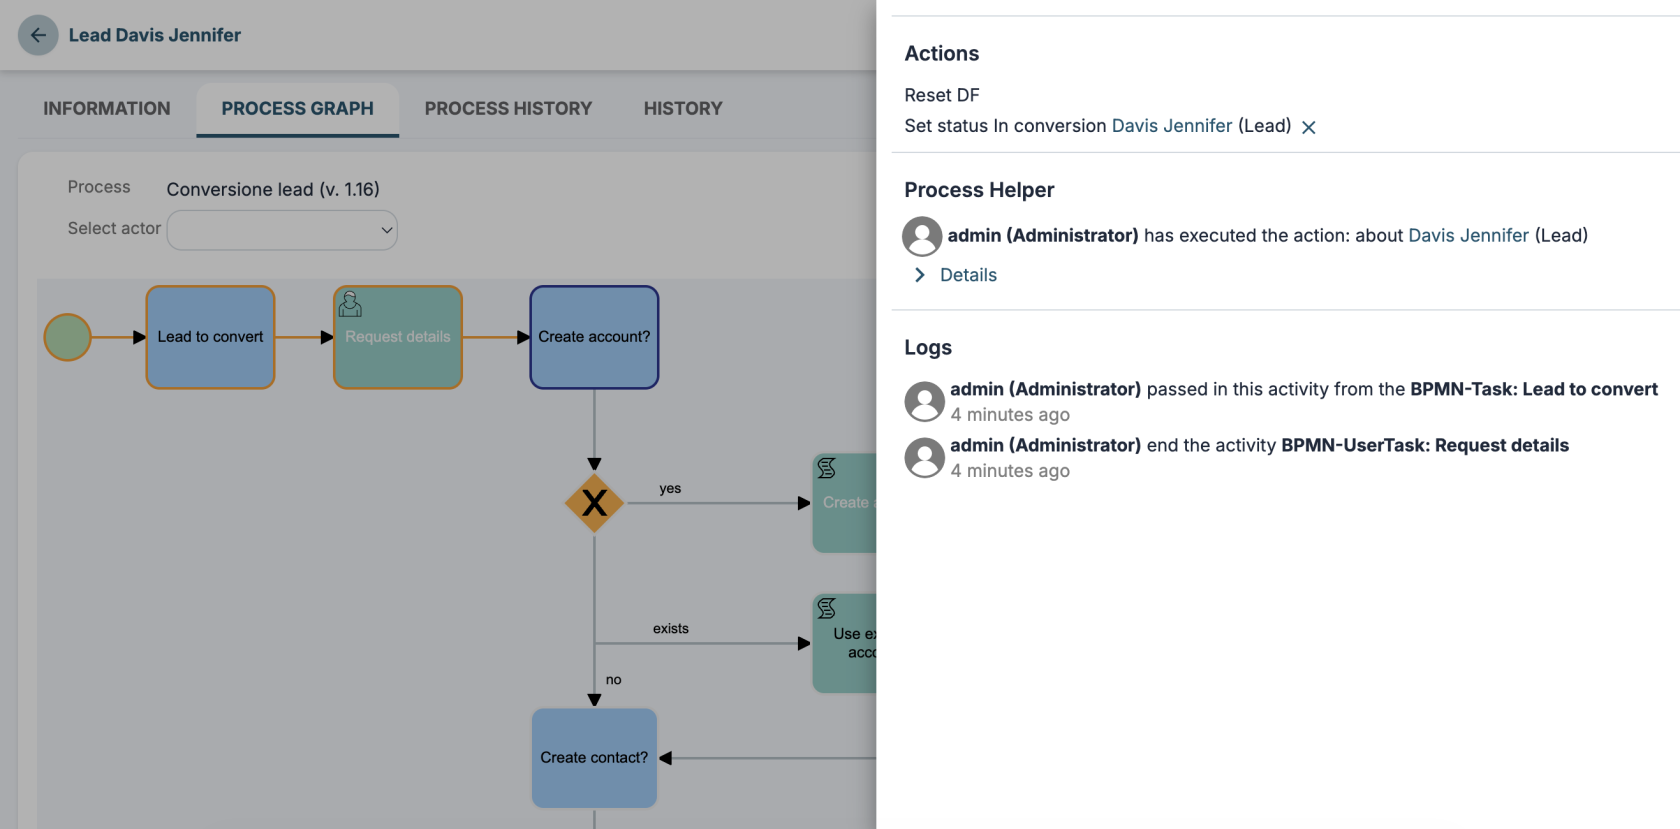
Starting with version 26.07, the log display interface has been improved by opening a dedicated panel on the right. (Figure 7)
With a user with Administrator permissions, it is possible to perform direct maintenance on a single process instance by being able to move the point of execution of the flow forward (to avoid the execution of some Tasks/Action Tasks) or backward (to re-execute some Tasks/Action Tasks).
To proceed with these operations, you must click on “Force position” (Figure 8), then on the Task/Action Task on which you want to position the process (Figure 9), then on “OK” in the confirmation popup (Figure 10), then on “Continue execution” (Figure 11) and finally on “OK” in the confirmation popup (Figure 12).
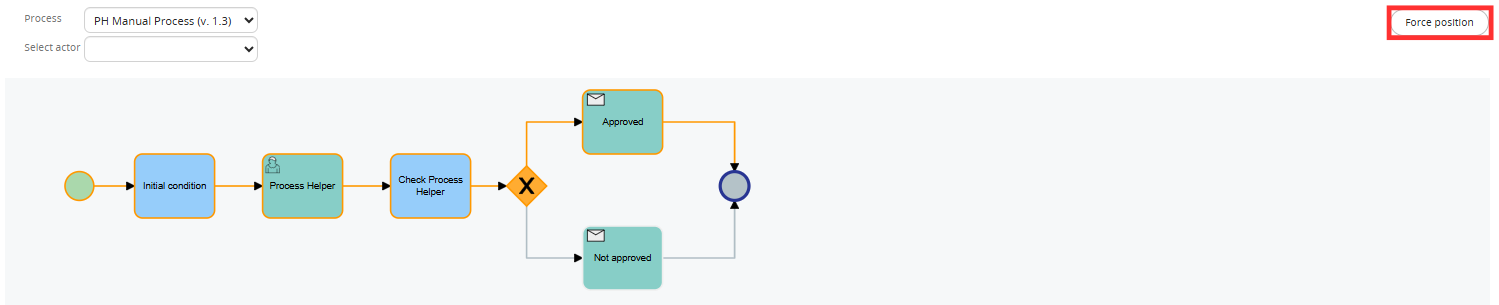
Figure 8
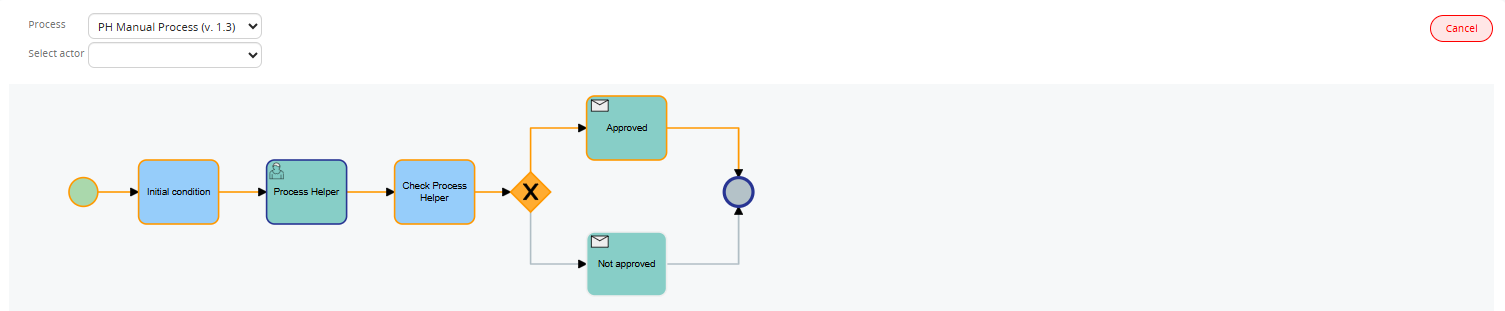
Figure 9
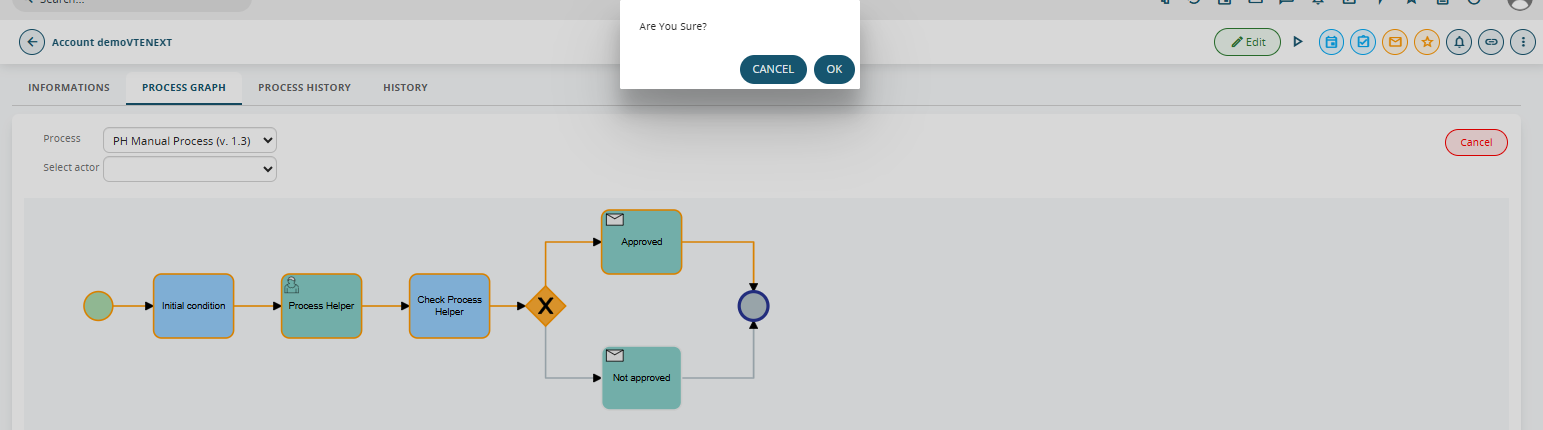
Figure 10

Figure 11
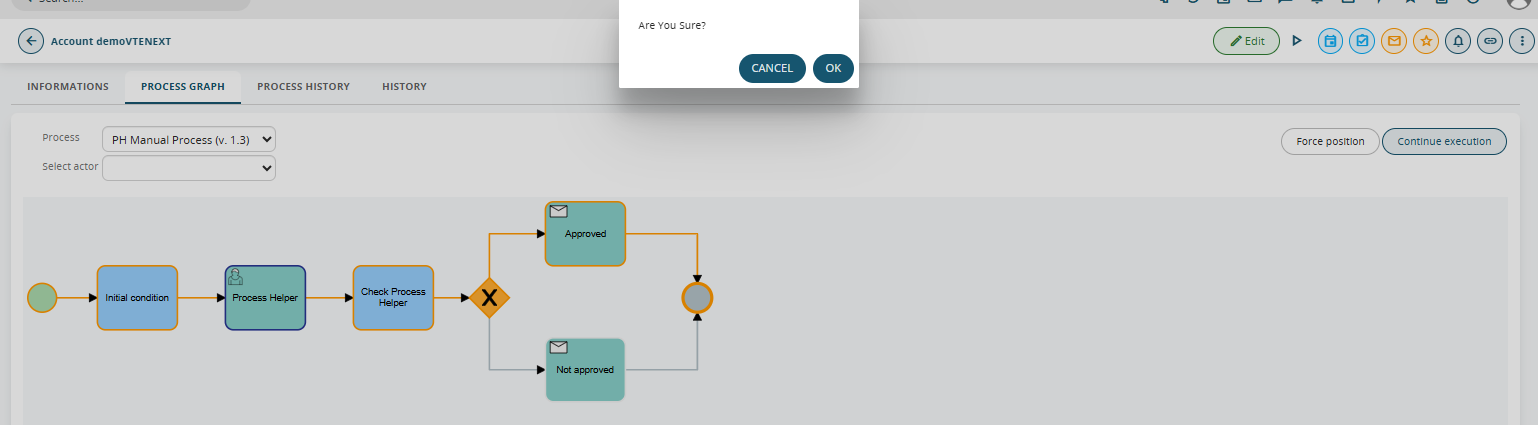
Figure 12
In the re-executed Tasks/Action Tasks it is reported whether the execution was performed through a position force or not (Figure 13)

Figure 13
It is recommended to configure the aforementioned Process helper inside an Action Task inserted immediately after the Initial Condition Task to ensure that the graph is activated a few moments after the actual start of the process (Figure 14).
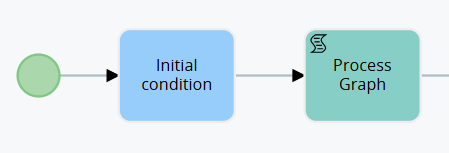
Figure 14
To activate the Process helper, simply fill in the mandatory fields, namely the “Assigned to” and “Linked to” fields (Figure 15).

Figure 15
NOTE: to avoid encountering errors, it is recommended to insert in the Linked to field the ID of the instance of the main module involved in the process, i.e. the record on which the process was triggered, otherwise you risk inserting the ID of an instance that does not exist at that specific point in the flow.